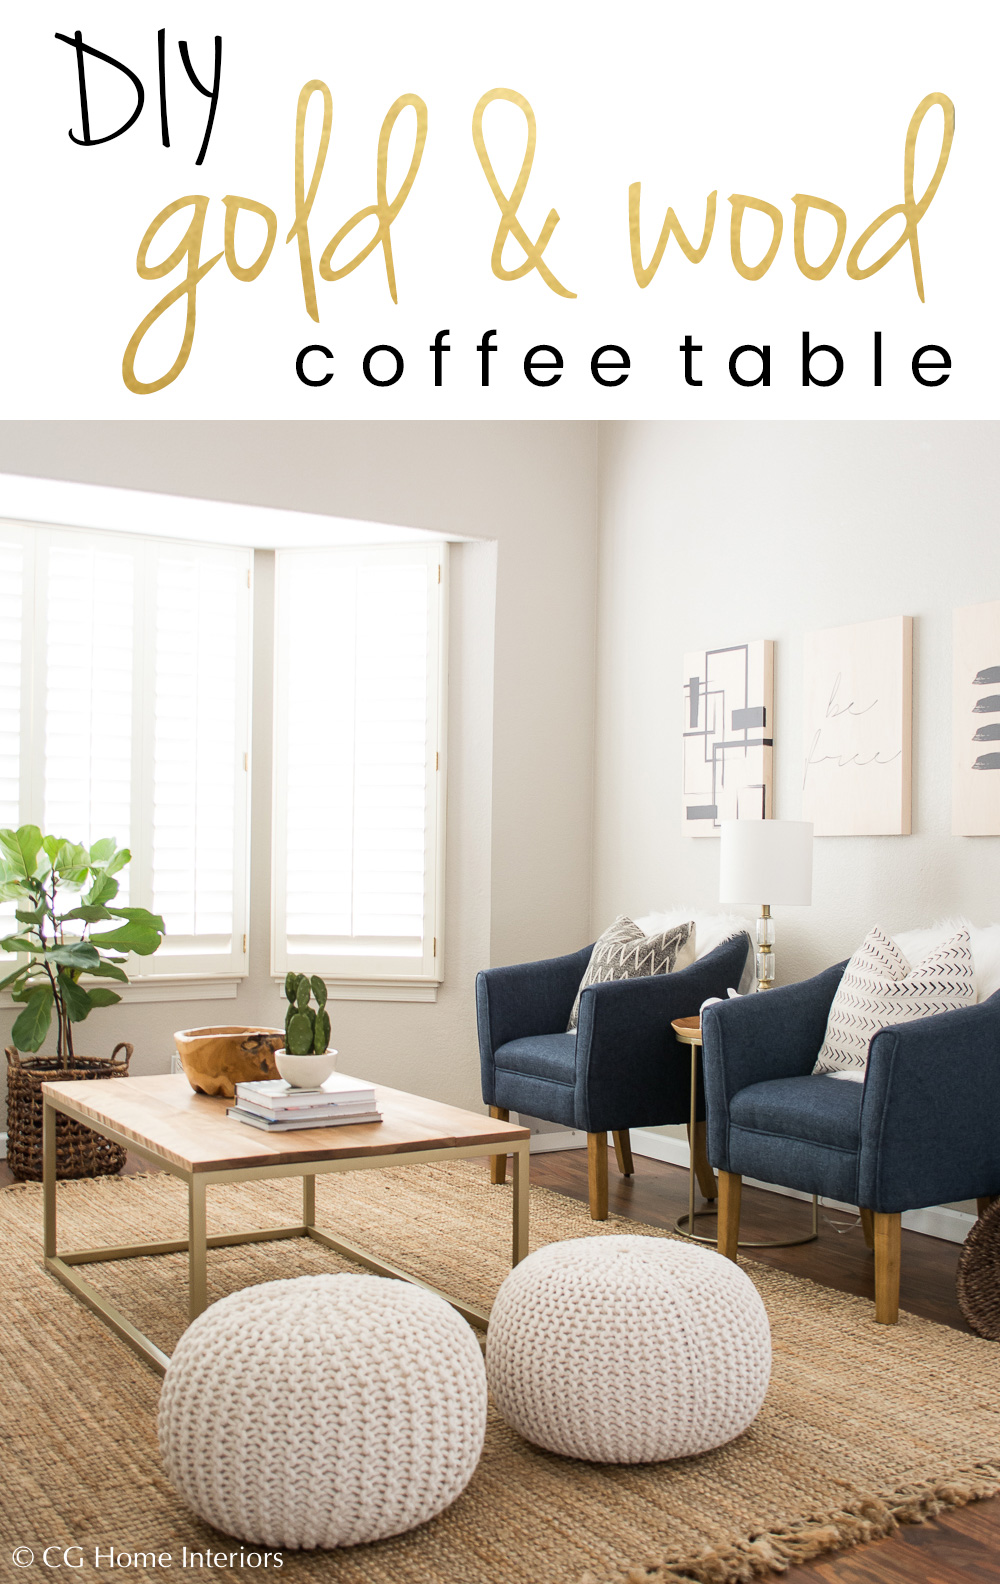
I'm terrible at keeping my projects to myself so if you follow me on Instagram then you've already seen this DIY gold and wood coffee table.
What you haven't seen is the DIY process that I'm sharing with you all today!
If you're visiting from Janet (Shabby Fufu) – welcome. I'm thrilled to join an amazing group of DIYers and crafters organized by Tana (Your Marketing BFF) and Janine (Happy Happy Nester). I hope you’ll be able to stay 'til the end because you're going to find some pretty fabulous DIY and craft inspiration on this tour.

This post contains affiliate links.
The universe works in mysterious ways.
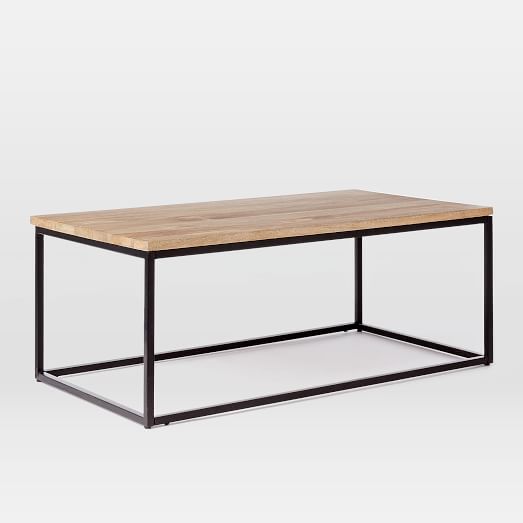
I’ve had my eye on this coffee table from West Elm for quite some time, but I’m going to be real honest with you guys – I’m frugal. It’s also not exactly what I wanted. I loved the wood top but wanted a gold base. Here’s where the universe went to work for me.
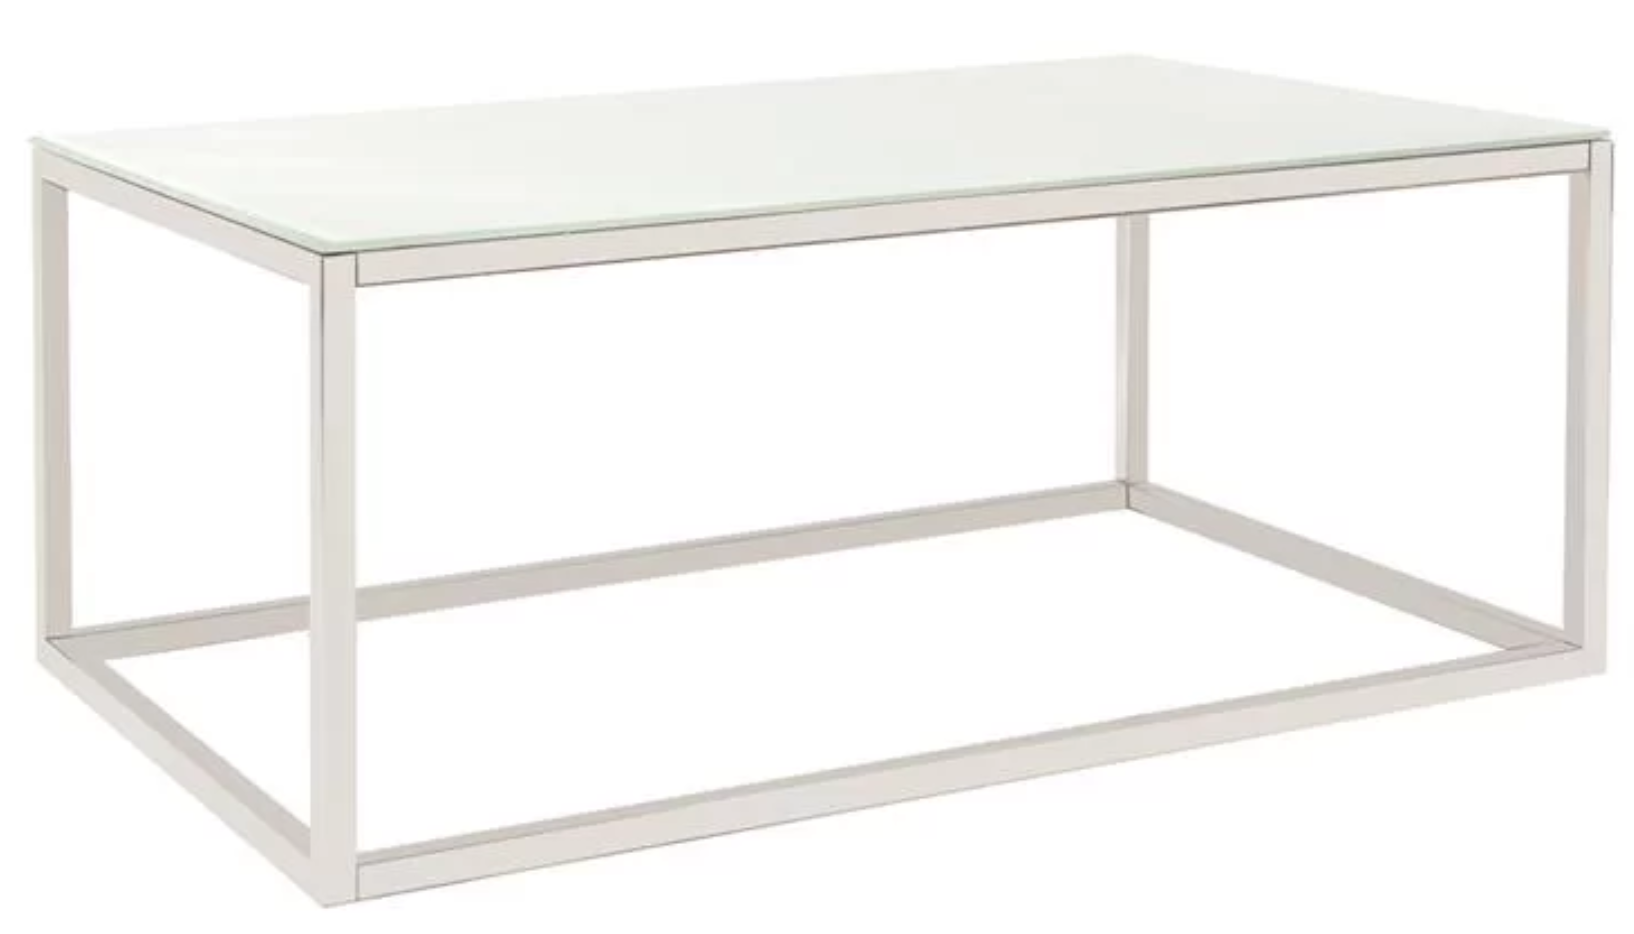
I ordered this coffee table for the lobby on a commercial project I finished up toward the end of last year (click here to view that project). The glass top arrived shattered so I contacted Wayfair and they sent out a whole new table asking us to dispose of the damaged one. The base was in perfect condition so my DIY project loving brain immediately went to work and I thought - I can make a top for that. I can also paint the base gold! So that coffee table I wanted – it was going to be mine for the cost of the materials to build the top and paint the base.
As soon as I had a weekend day to spare, I went to work.
These are the supplies you’ll need to recreate this look:
- Coffee Table base 44”W x 28”D
- Orbital Sander with 120 grit sandpaper
- Drill
- (4) .75” x 7.25” Birch Board Planks – two pieces ripped to 6.75”W to use on the ends
- (3) .5” thick wood/scrap wood - cut to 18” wide
- Rustoleum Hammered Gold Spray Paint
- Rustoleum Primer Spray Paint
- Minwax Golden Oak Oil Stain
- Varathane Polyurethane (Satin Finish)
- 2” angled nylon paint brush
- (4) ¾” corner braces
- (4) 1” corner braces
- (12) Flathead Phillips Wood Screws #6 x 1”
- (4) Flathead Phillips Screws with bolts #6 x ½”
- (4) Flathead Phillips Wood Screws #6 x ½”
- Latex gloves
- Microfiber cloth
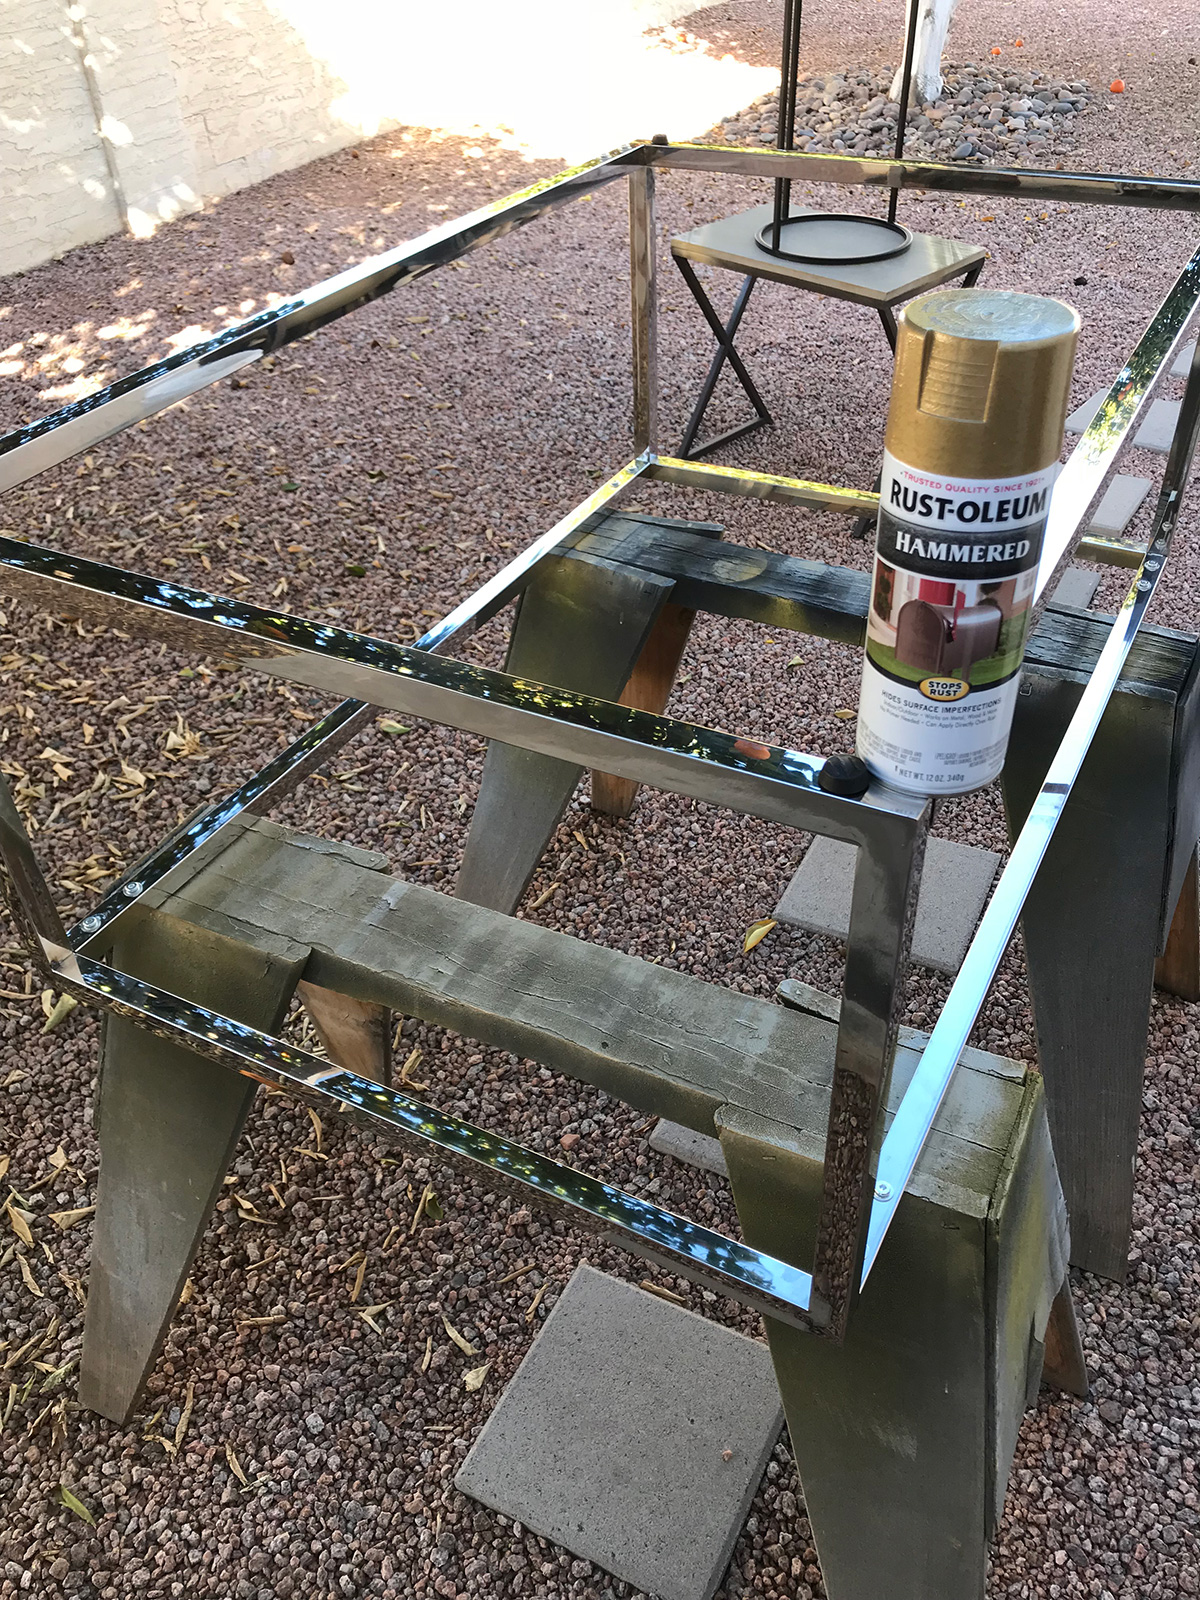
I began by painting the base first. I’ve used this gold spray paint on multiple items in my formal living room (check out the IKEA hack I used it on), and discovered if I apply enough coats it doesn’t look hammered – which I prefer. Spray a couple coats of primer on the base first and then 4-5 coats of the gold hammered spray paint, following the recoat instructions on the can.
While that is drying, you can move on to the top. Since I didn’t have any cost into the coffee table base, I splurged a little on the wood for the top.
The wooden bowl I have sitting on top of my coffee table was my inspiration for the table top so I chose birch wood because it takes stain well and has beautiful grain.
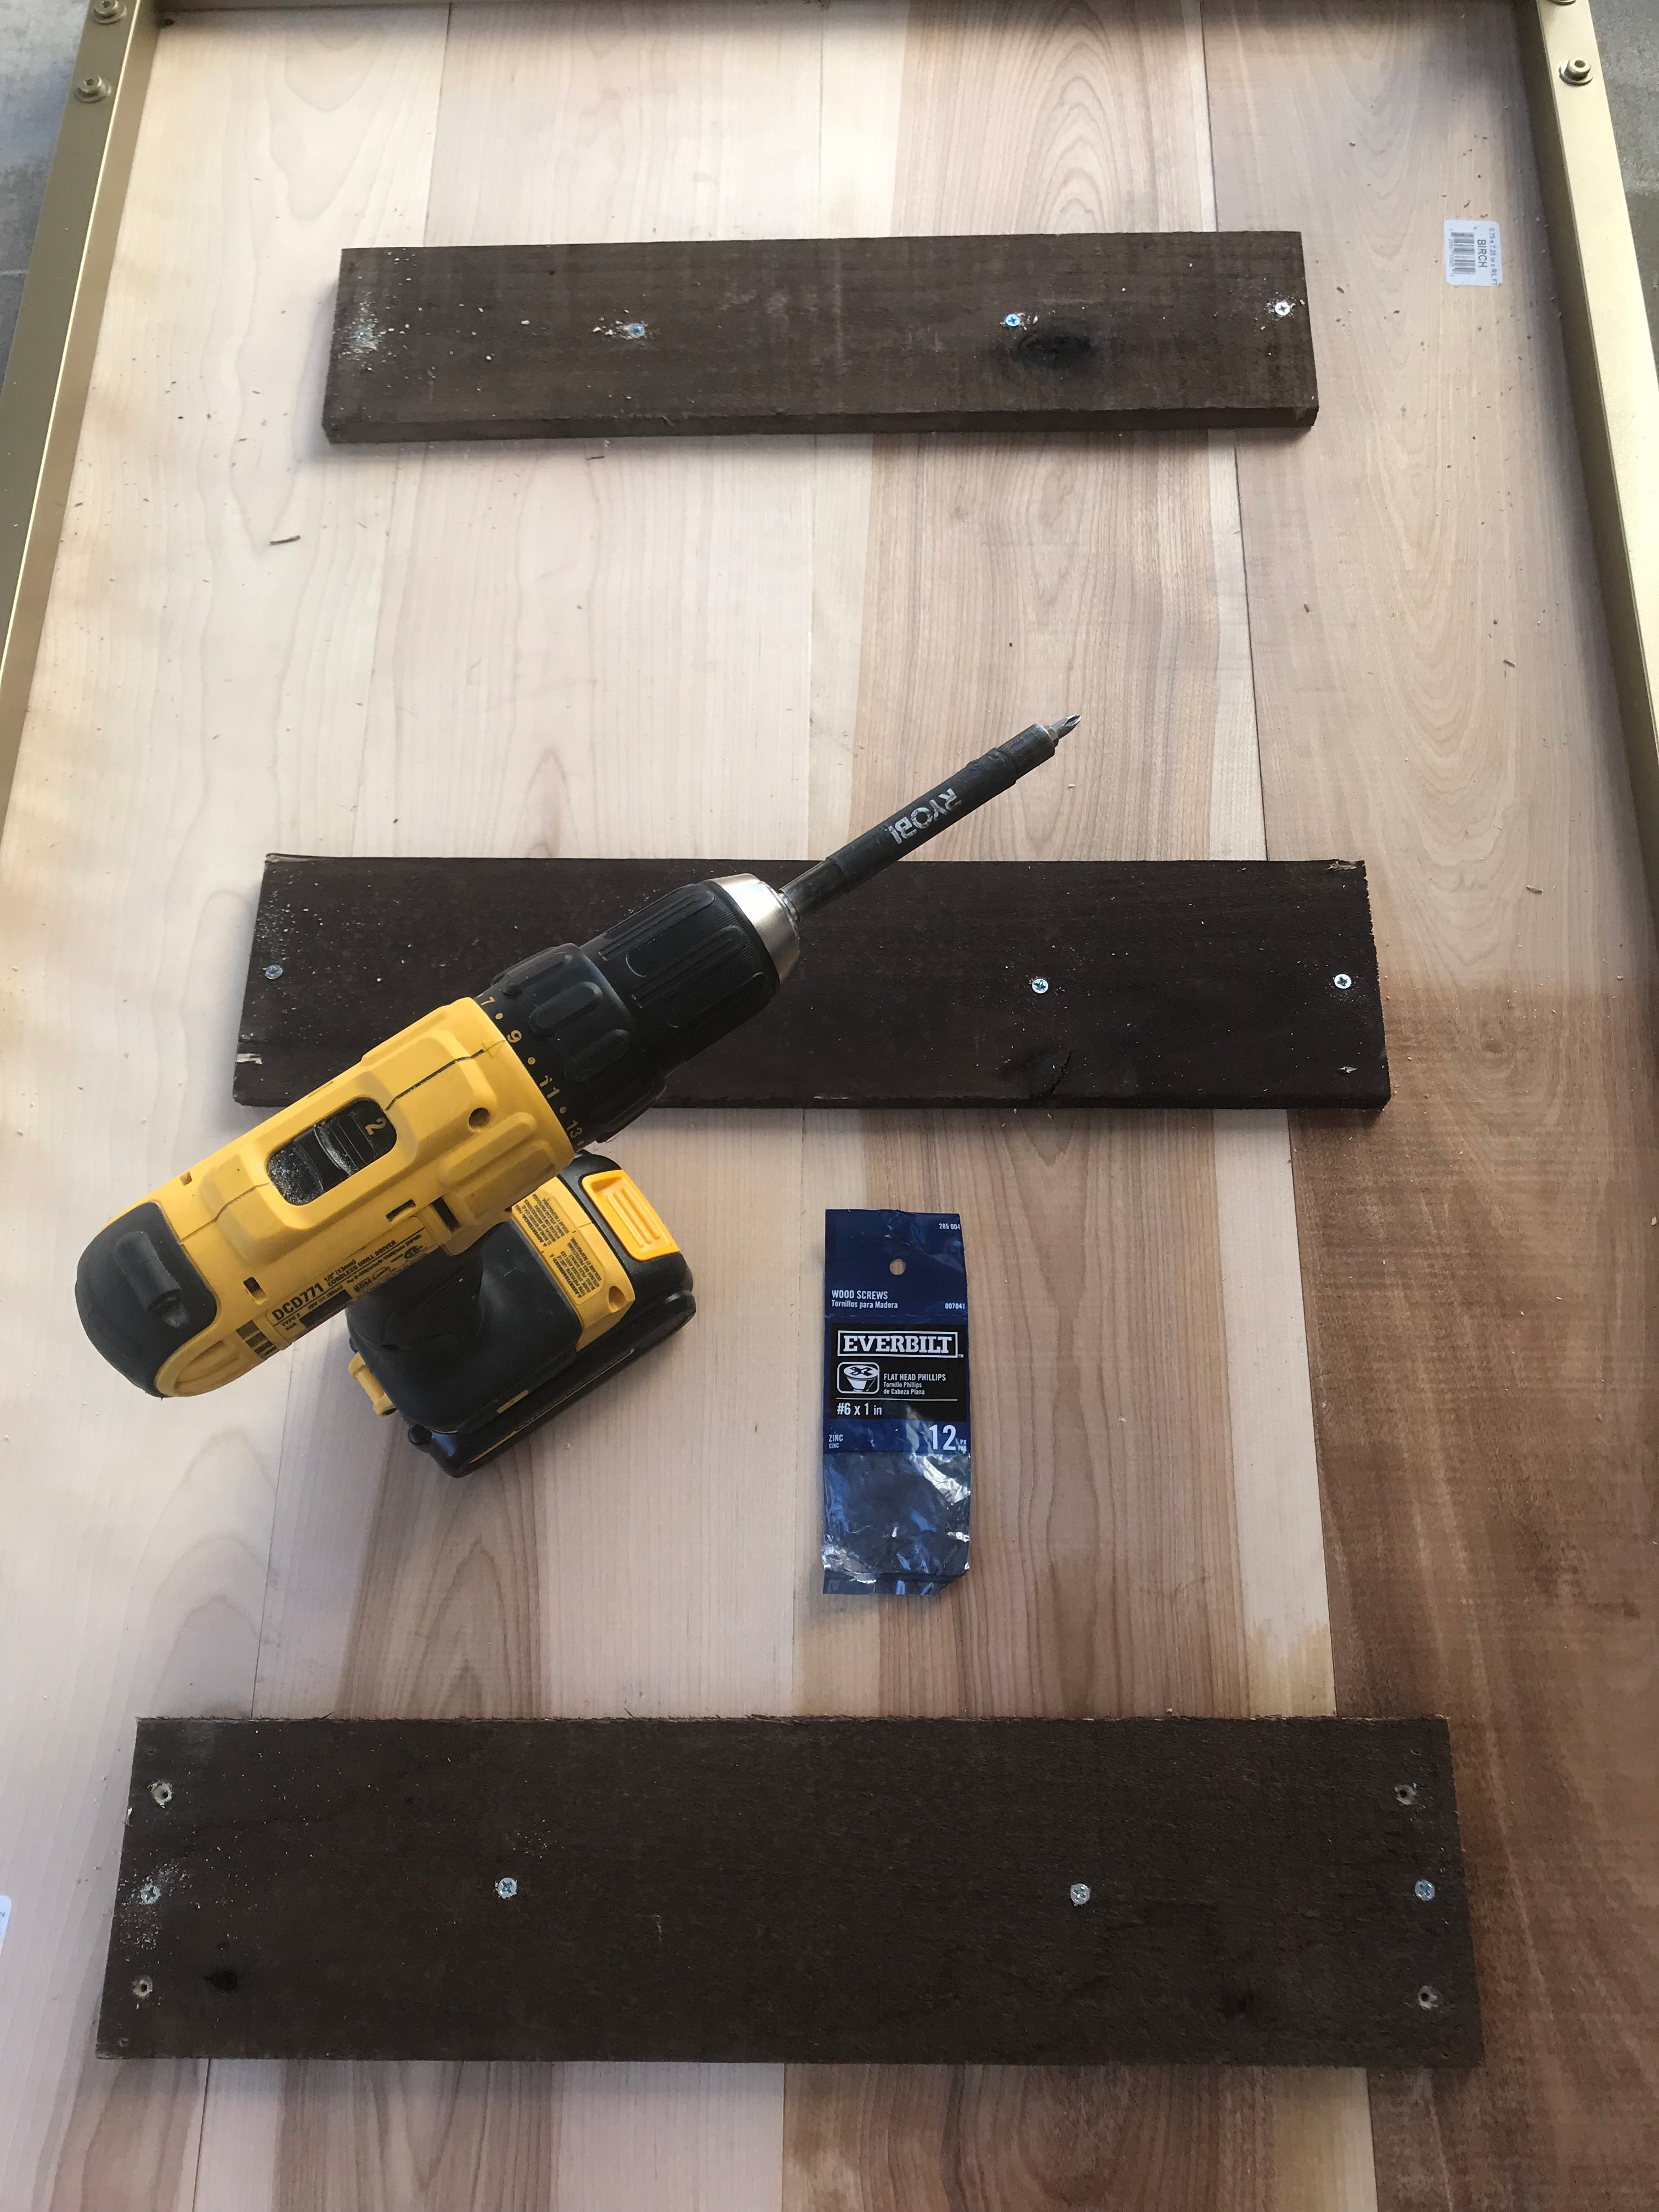
I placed the two pieces I ripped to 6.75” on each end, and the two original pieces at 7.25” wide in the middle. Before I attached the pieces together I laid them out to determine which pieces I liked next to each other. Once I liked the look, I flipped them over and used the ½” x 18”w scrap wood to adhere the pieces together.
Drill one pilot hold into each plank (being very careful not to go through the birch wood), and then put one Flathead Phillips Wood Screw #6 x 1” into each pilot hole (as shown below).
Now that the top is secure, flip it over and place it on a flat surface.
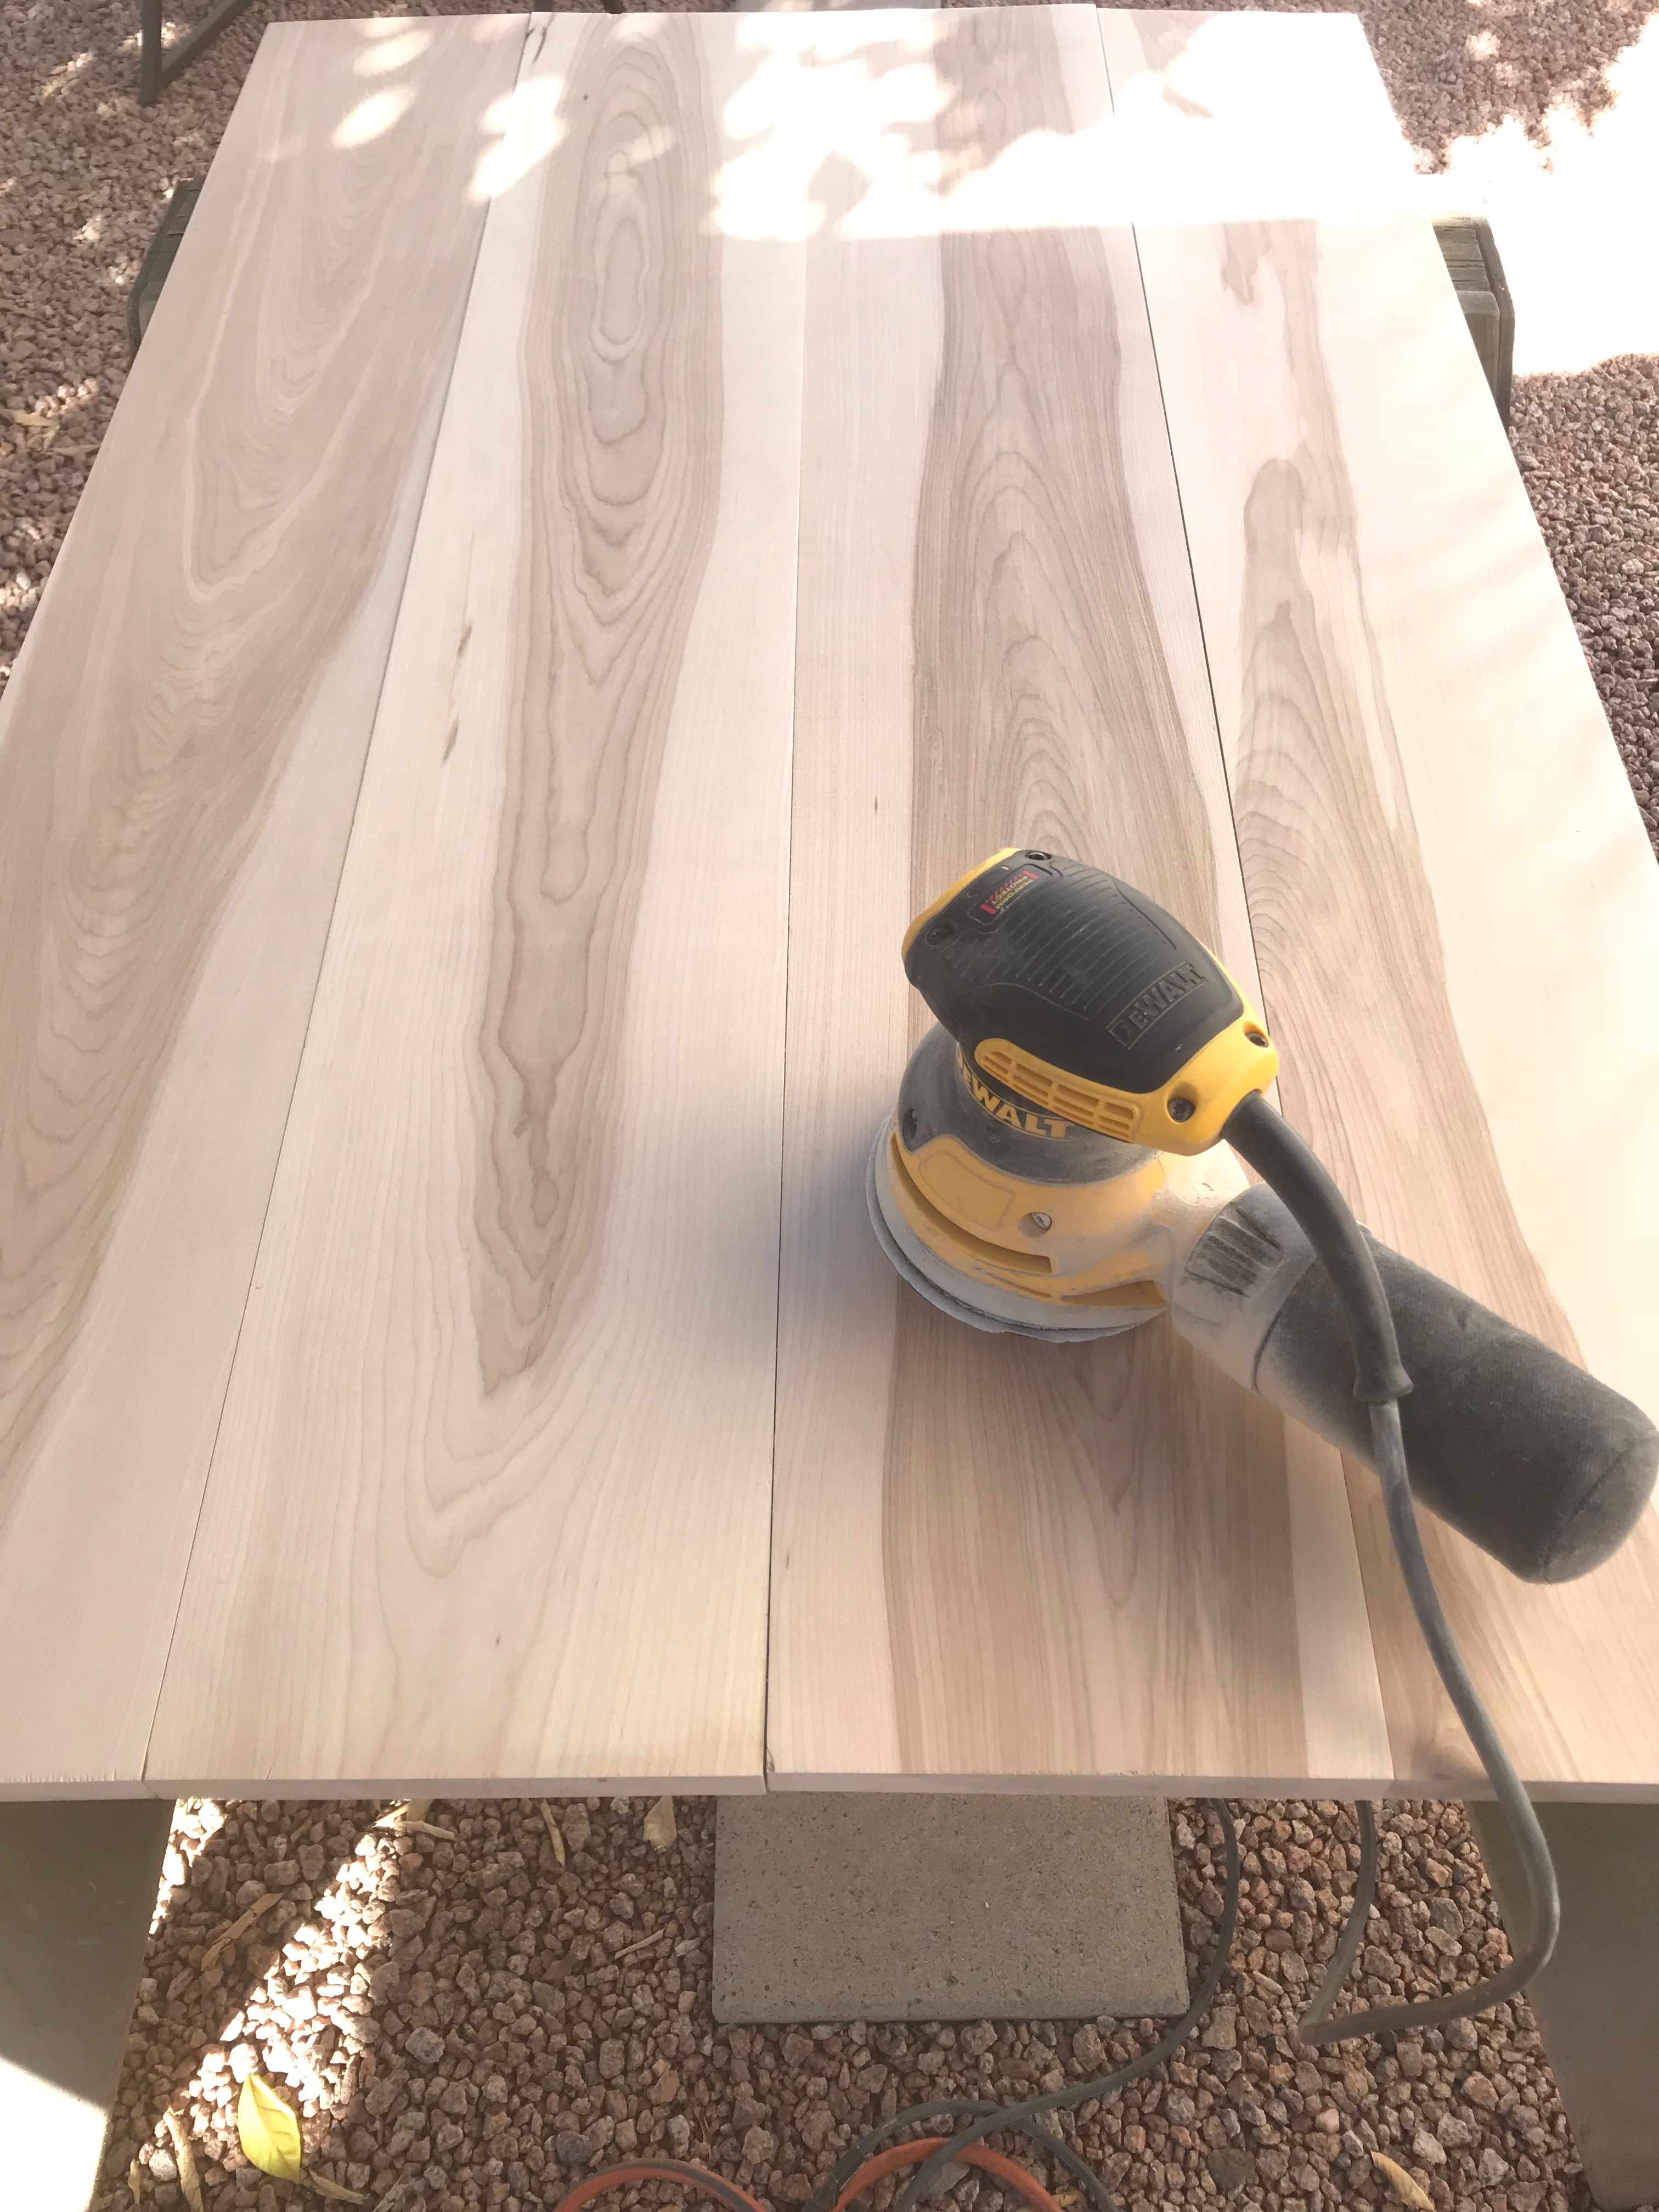
Grab your orbital sander equipped with 120 grit sandpaper and give the top and sides a good sanding until they are nice and smooth. Make sure to use a cloth to clean off the dust really well before staining.
Now put on your gloves and grab your stain. Dip the microfiber cloth into the stain and apply a generous even coat. I also applied a second coat according to the directions on the can.
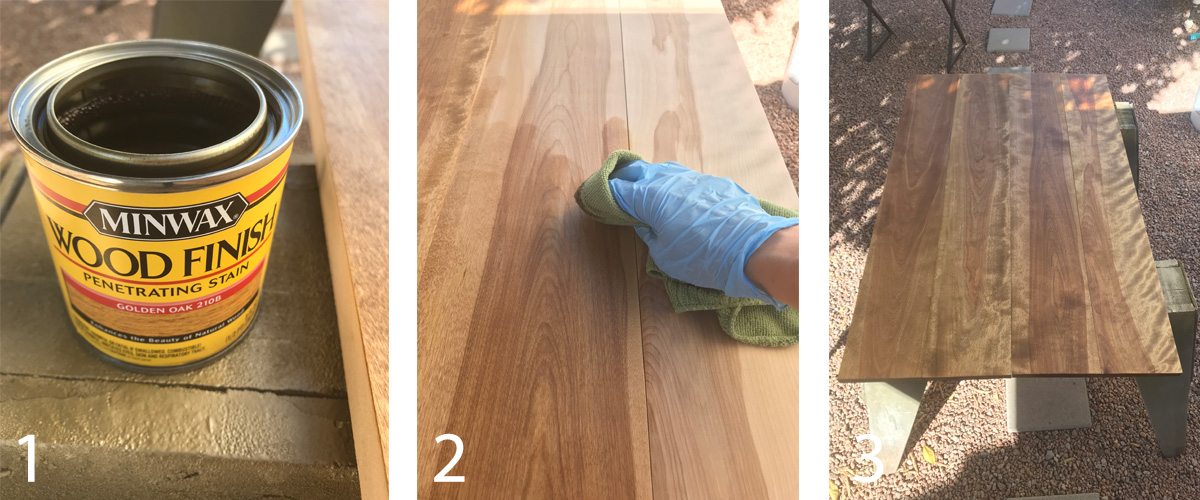
Once the stain is dry, apply 3-4 coats of the polyurethane according to the directions on the can using the 2” angled nylon paint brush.
Let dry for 24 hours and then secure the top to the base. Flip the top over onto a soft surface (carpet, towels or blanket), and then flip the base over and lay it on the table top so everything is upside down.
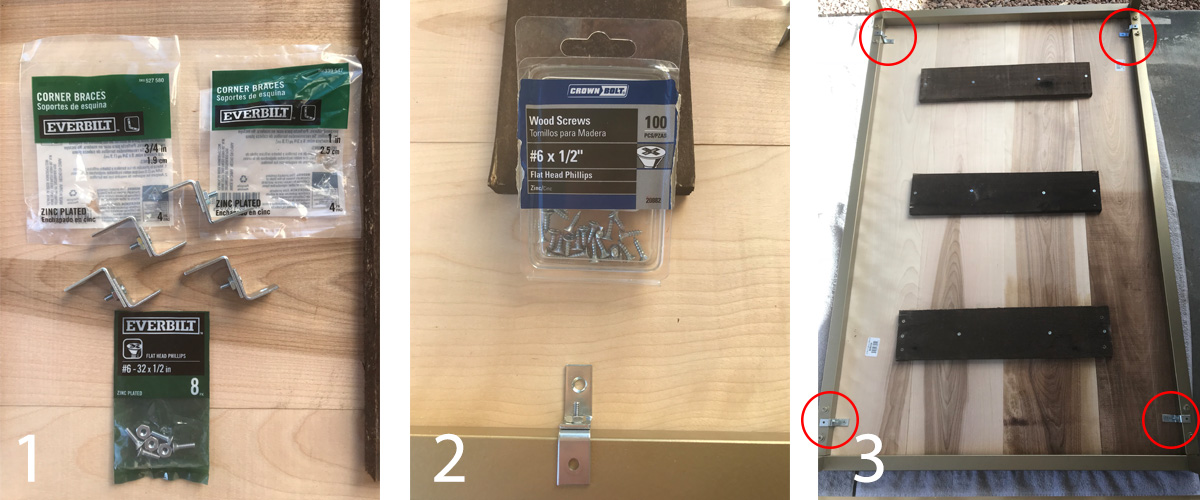
Take one of the ¾” corner braces and attach it to one of the 1” corner braces using the Flathead Phillips Screws with bolts #6 x ½” (see photo 1 below).
Get the edges of the table top even with the edges of the base and place one corner brace in each of the four corners as shown in photo 2 and 3 below. Drill pilot holes being very careful not to go through the wood and secure with the Flathead Phillips Wood Screws #6 x ½”.
Flip your table over, move it in the house and get that beauty decorated!
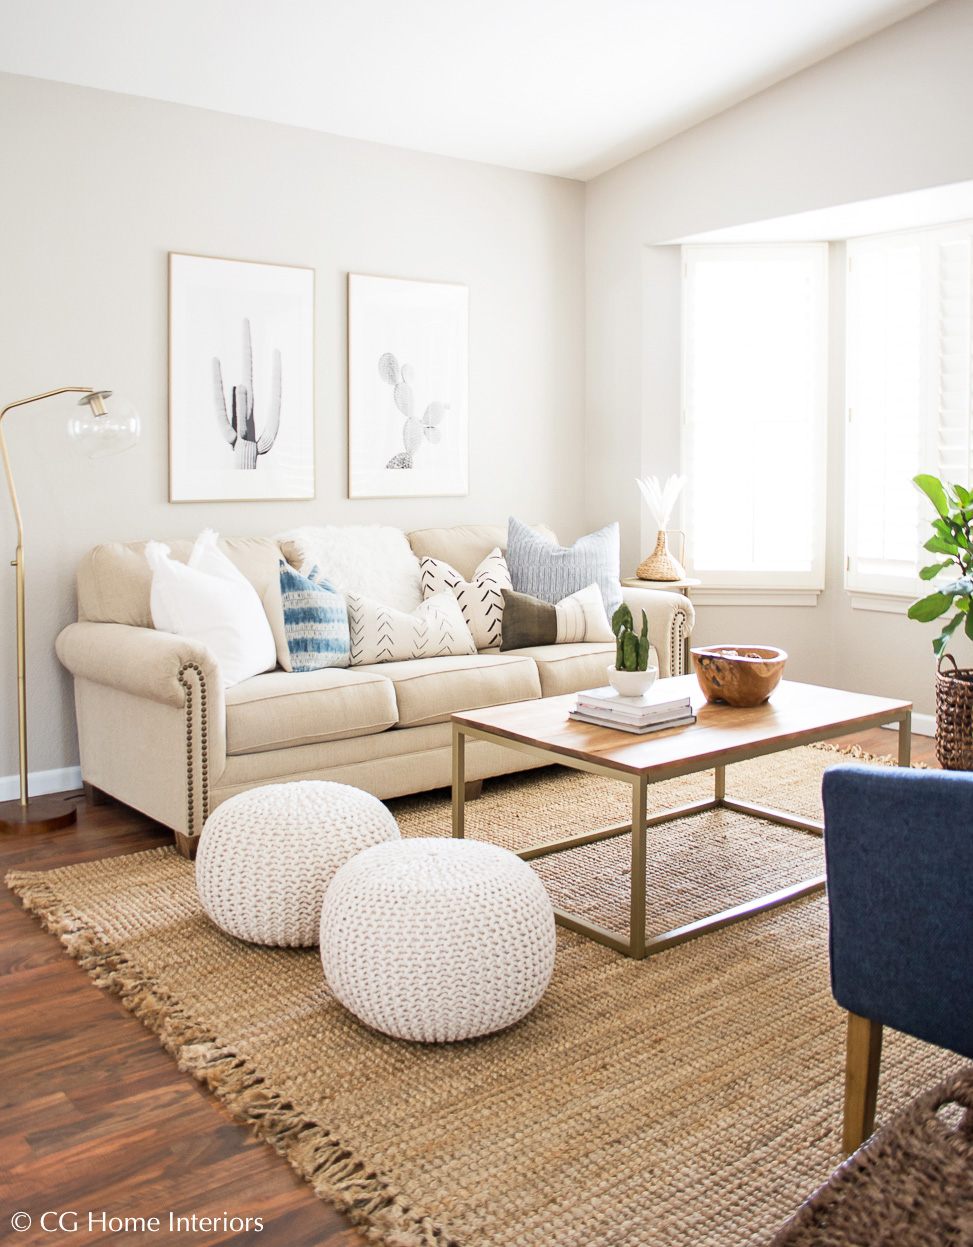
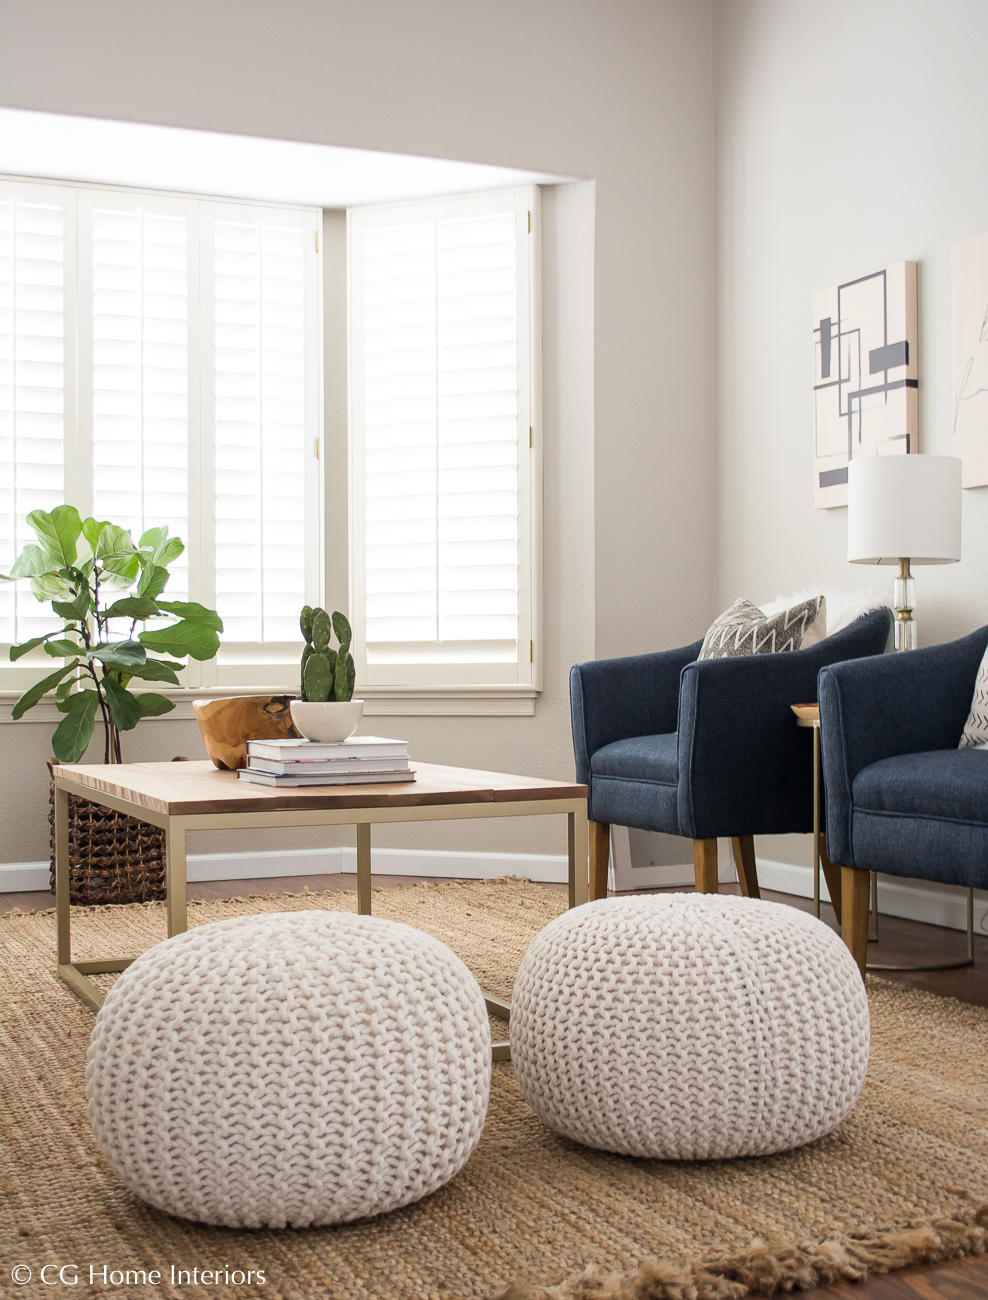
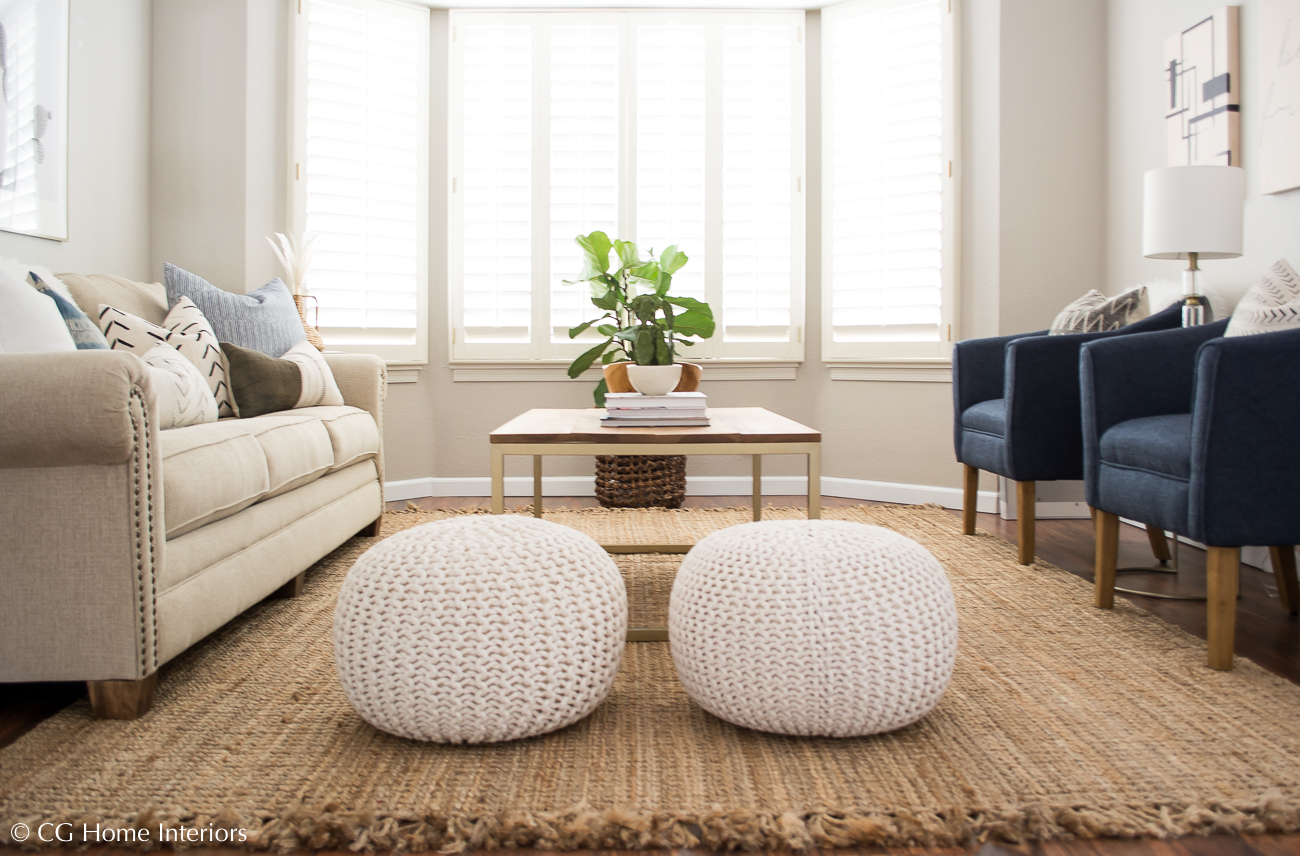
For the cost and ease of the project, I couldn't be happier with my gold and wood coffee table. I hope this also inspires you to get crafty with some old furniture or extra pieces you have laying around!
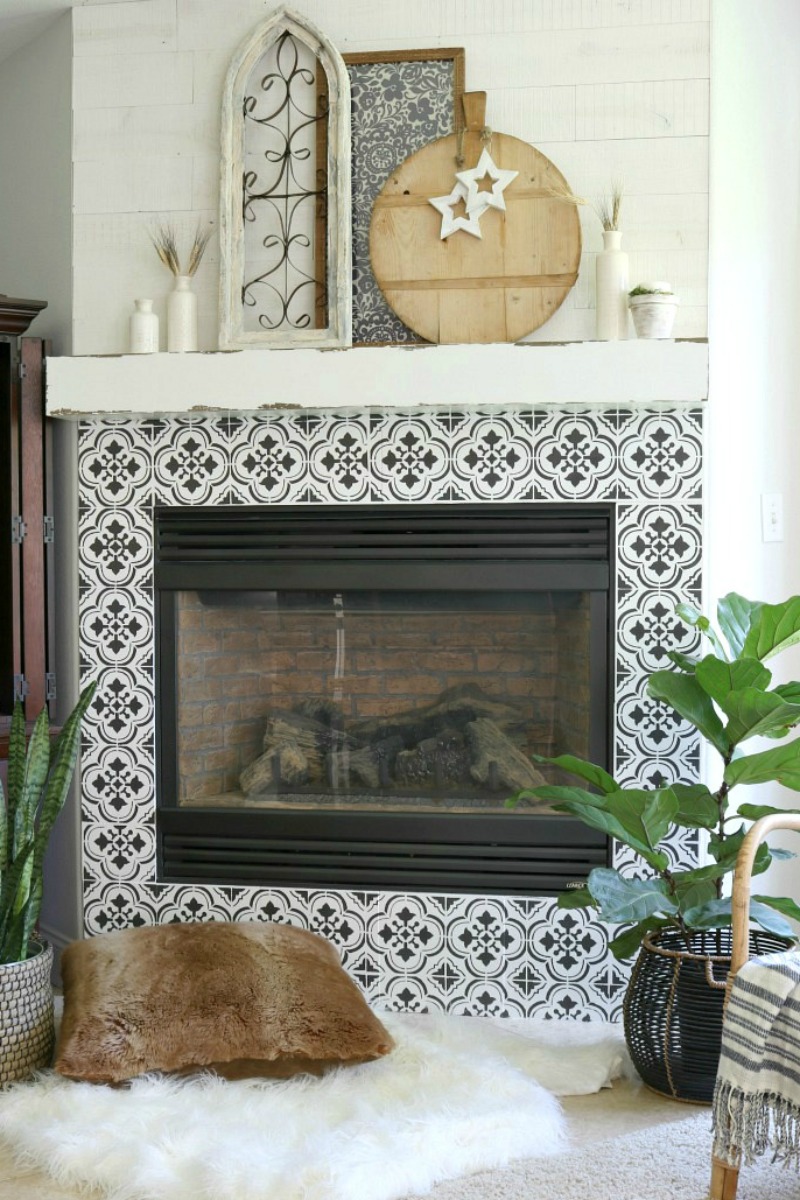
Next up on the tour are my talented friends, Jodie and Julie (The Design Twins) and I think you're going to absolutely fall in love with Jodie's fireplace makeover.
Be sure to check out all of the other fun projects from each of these talented ladies below and pin your favorites for later.
Happy reading and happy DIY'ing!
XO,
Christina
P I N T H I S I M A G E


Comments
Christina! You make me want
Christina! You make me want to go grab my power tools and get to work! Forget the fact that I don't own power tools...I'm ready and excited to give it a go! Thanks for this incredible inspiration and making me feel like I can DO it! xoxo Jodie & Julie
Thank you, ladies!
Thank you, ladies!
I just love this Christina
I just love this Christina and a gold makeover is always top in my book! Pinning the project for future reference!
You can never go wrong with
You can never go wrong with gold! Thank you, Janet. xo
It's gorgeous! I love your
It's gorgeous! I love your style.
Thank you, Heidi!
Thank you, Heidi!
You go power-toting-tool girl
You go power-toting-tool girl! This coffee table diy is freakin uh-maaaazing... and I love how your frugal mind thinks. It's spectacular friend, kudos!
Ha!! Thanks, Tana! Glad you
Ha!! Thanks, Tana! Glad you love it. XOX
Christina,
Christina,
Your coffee table is so incredible, and I love that you made a coffee table precisely to your liking! Wow, and I love how it turned out, and it is the perfect accent for your gorgeous living room. I always read these woodworking projects, and they always inspire me to one day give it a try. Thanks so much for joining our blog hop!
Thank you so much, Janine!
Thank you so much, Janine! You are so crafty that I know you'd do great with woodwork. It was a pleasure to be a part of this fun hop with you incredibly talented ladies! XOX
Such a pretty makeover, wow!!
Such a pretty makeover, wow!!
Thank you so much!
Thank you so much!
This is brilliant!! great job
This is brilliant!! great job
Thank you, Rhonda!
Thank you, Rhonda!
I’m so glad I read this. I
I’m so glad I read this. I didn’t know to use a microfiber cloth to apply stain... I have only brushed it on. I’m getting ready to stain more wood for another project. Thank you for the post and nice the coffee table!
Yes! It is so much easier and
Yes! It is so much easier and less messy to use a cloth for stain application!