This might be one of my favorite DIY’s with Weaber Lumber’s wall boards, and it’s funny because it was my husband’s idea and he started to present it to me and then stopped and says “never mind, you’re not going to like the idea”.
I said “try me”, and guess what? I loved it!
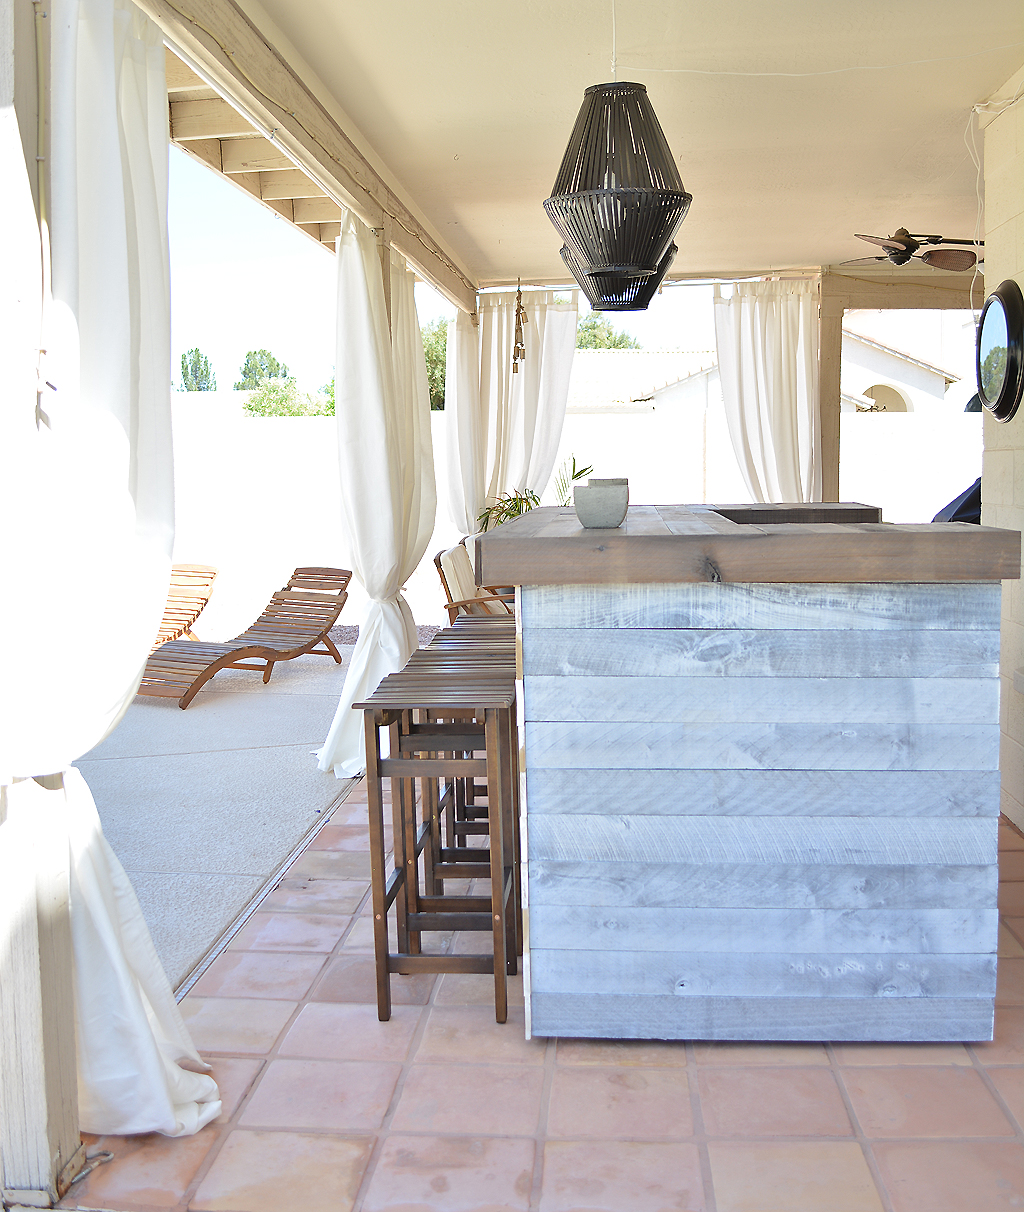
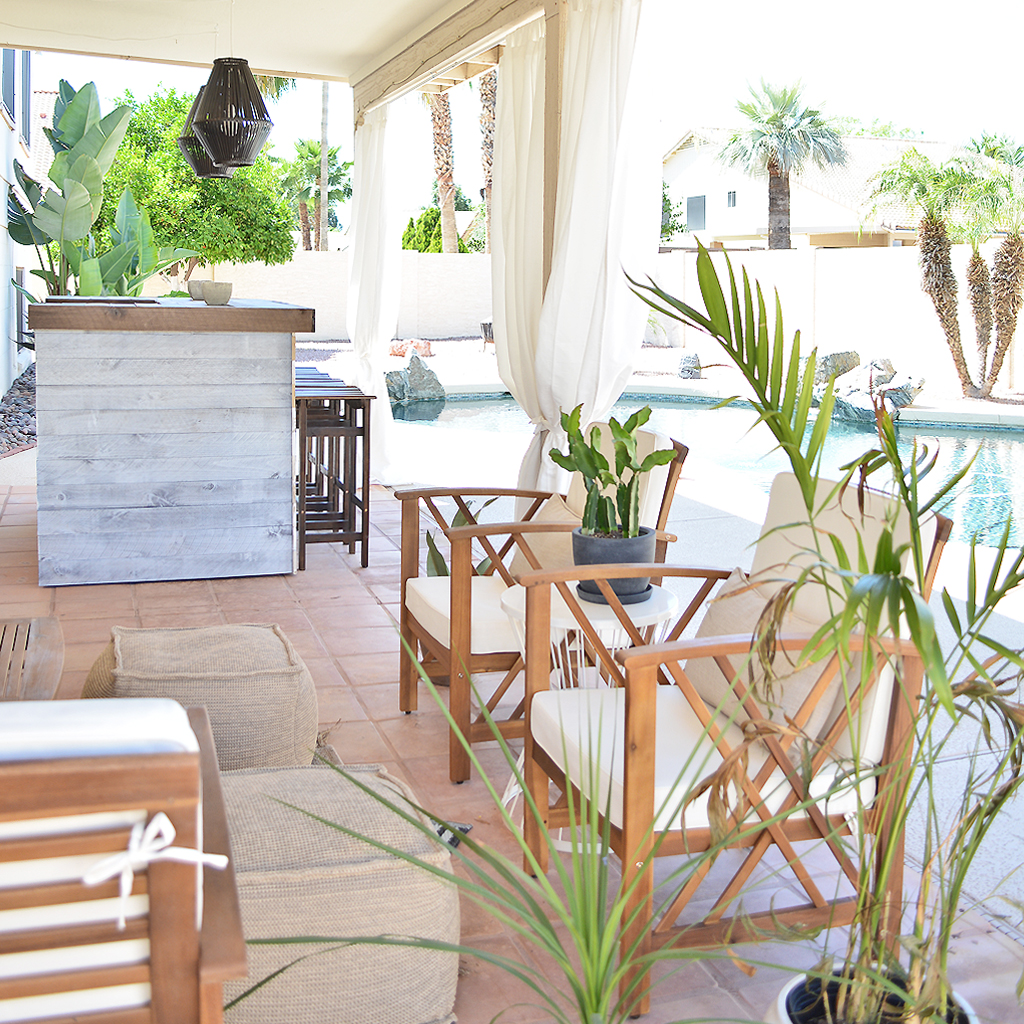
I’ve been working hard on redoing our back patio to get ready for the summer (which feels like it’s already here), because it’s going to be a long one with lots of pool time.
Last summer I’d lay in the pool and day dream of what I could do to create a backyard oasis for us and I didn’t think it could be done without a complete demo. Sometimes I love being wrong. The exterior of the house definitely needs to be painted, but for now the space I created distracts you from it just a little bit. You can read about the full makeover here.
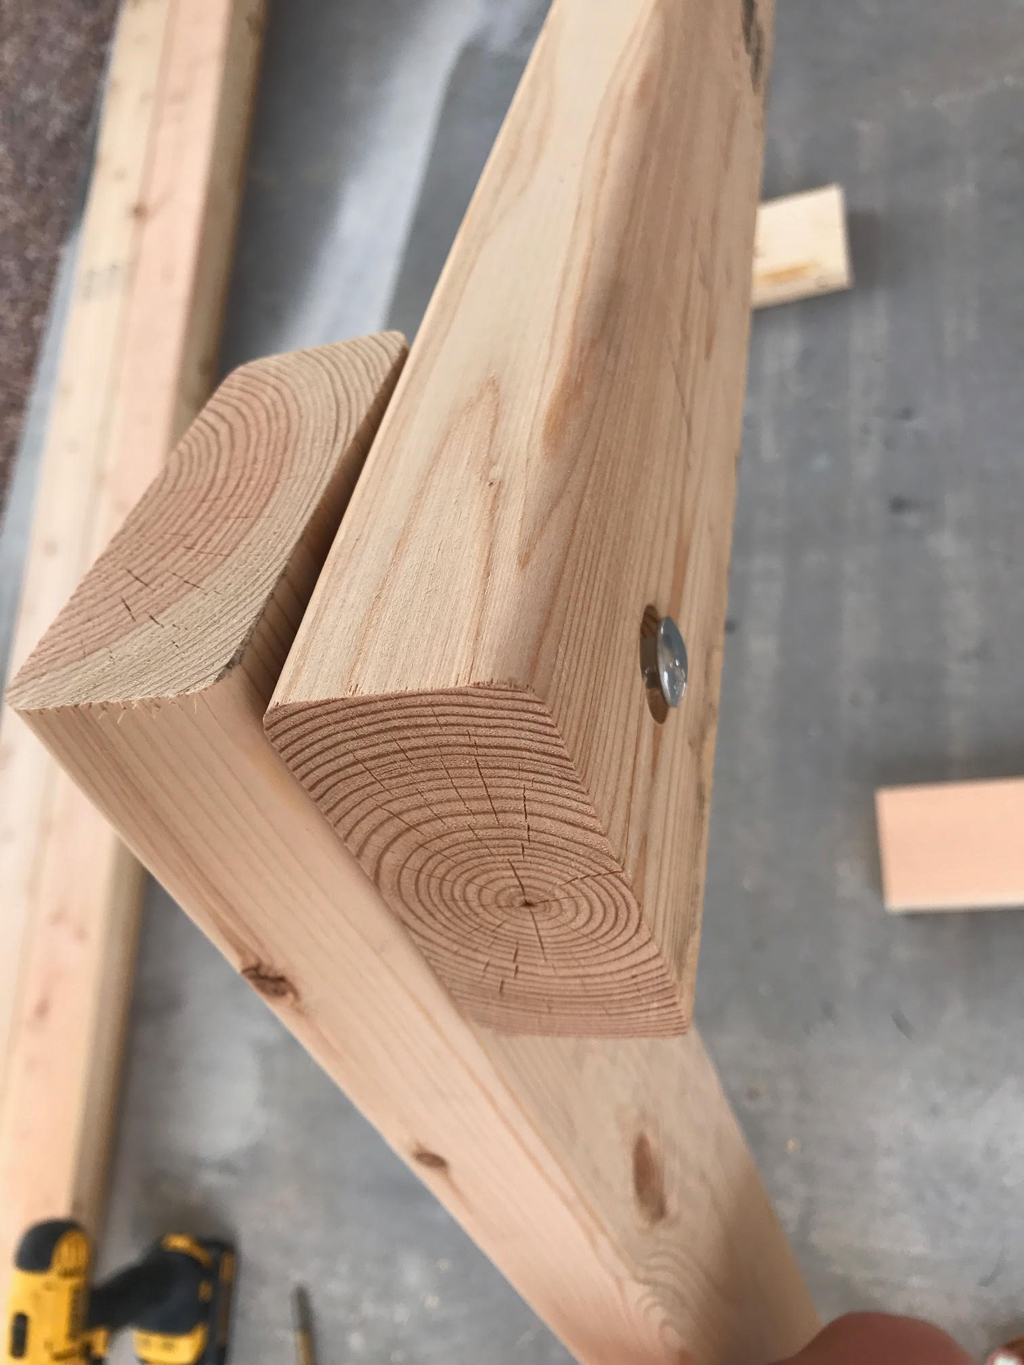
Mr. CG and I completely flew by the seat of our pants building the frame for this bar. It was a vision, a trip to Home Depot for a lot of 2x4’s and carriage bolts, and a little prayer before getting started.
{This post contains affiliate links and is sponsored in part by Weaber Lumber, but all opinions expressed are my own. Affiliate links are no additional cost to you,
and allow us to receive a small percentage of the sale to continue to bring you awesome DIY tutorials. Thank you for your help in supporting our small business!}
I started to document the process and then it got to be too overwhelming and slightly complicated, so I found a site that has 9 free plans that are far less complex if you want to create a similar frame.
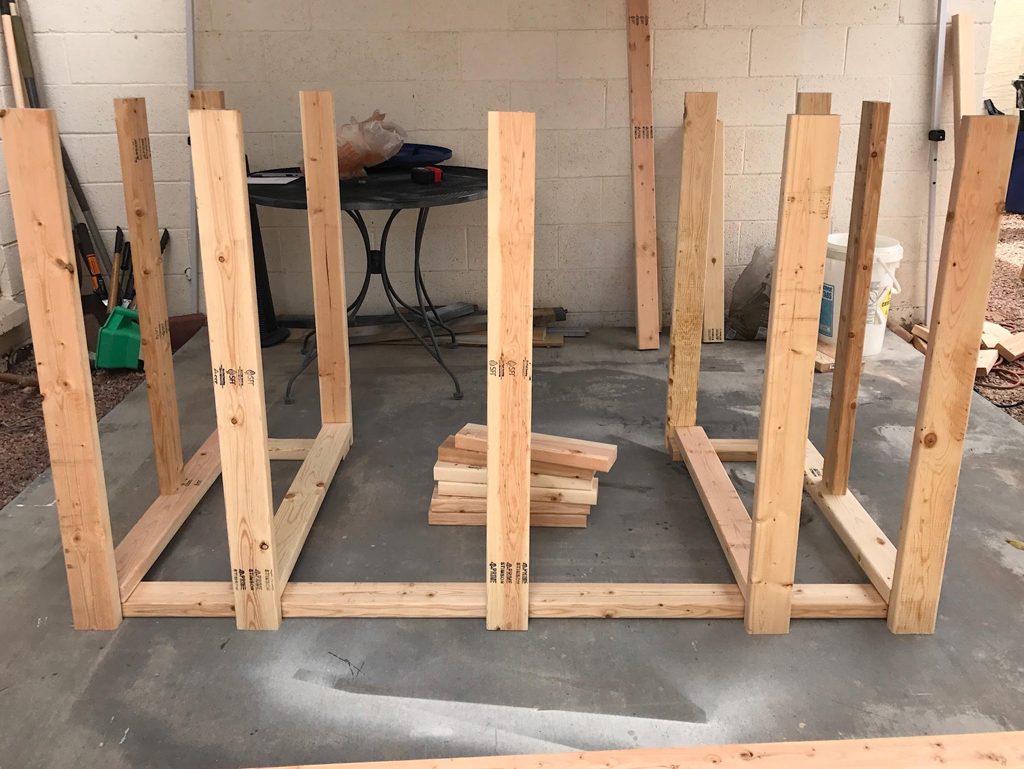
The only difference is we did a U-shape bar with shelving on the inner sides. Honestly, by the time you’d have read the steps we took you’d have been thinking “I’m sorry you took the time to document your steps, Christina; because I will never attempt this. Like, EVER”.
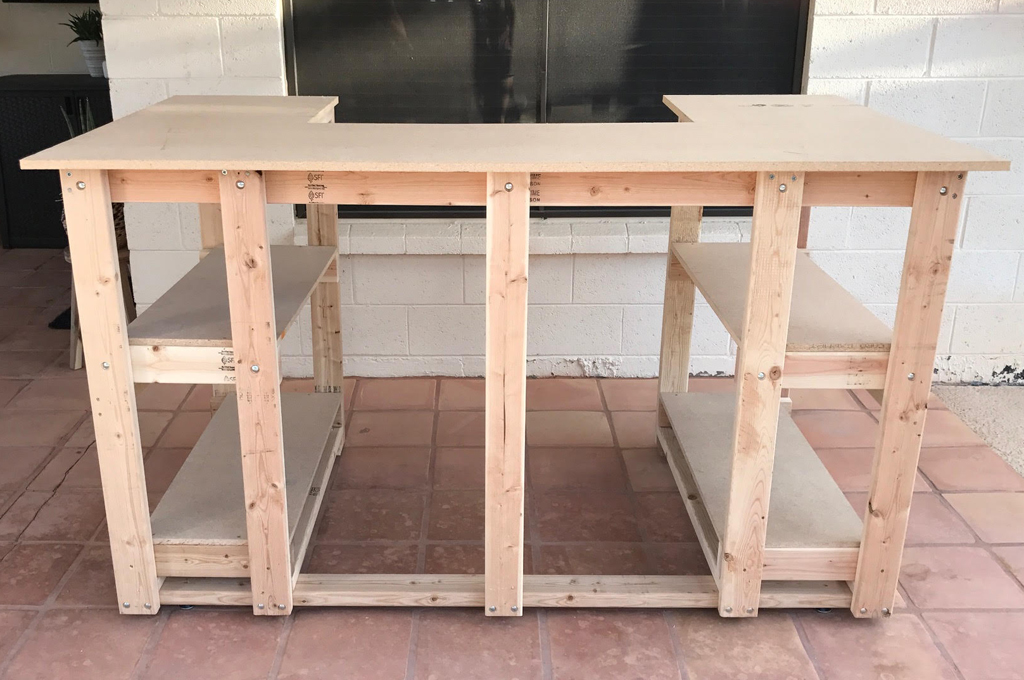
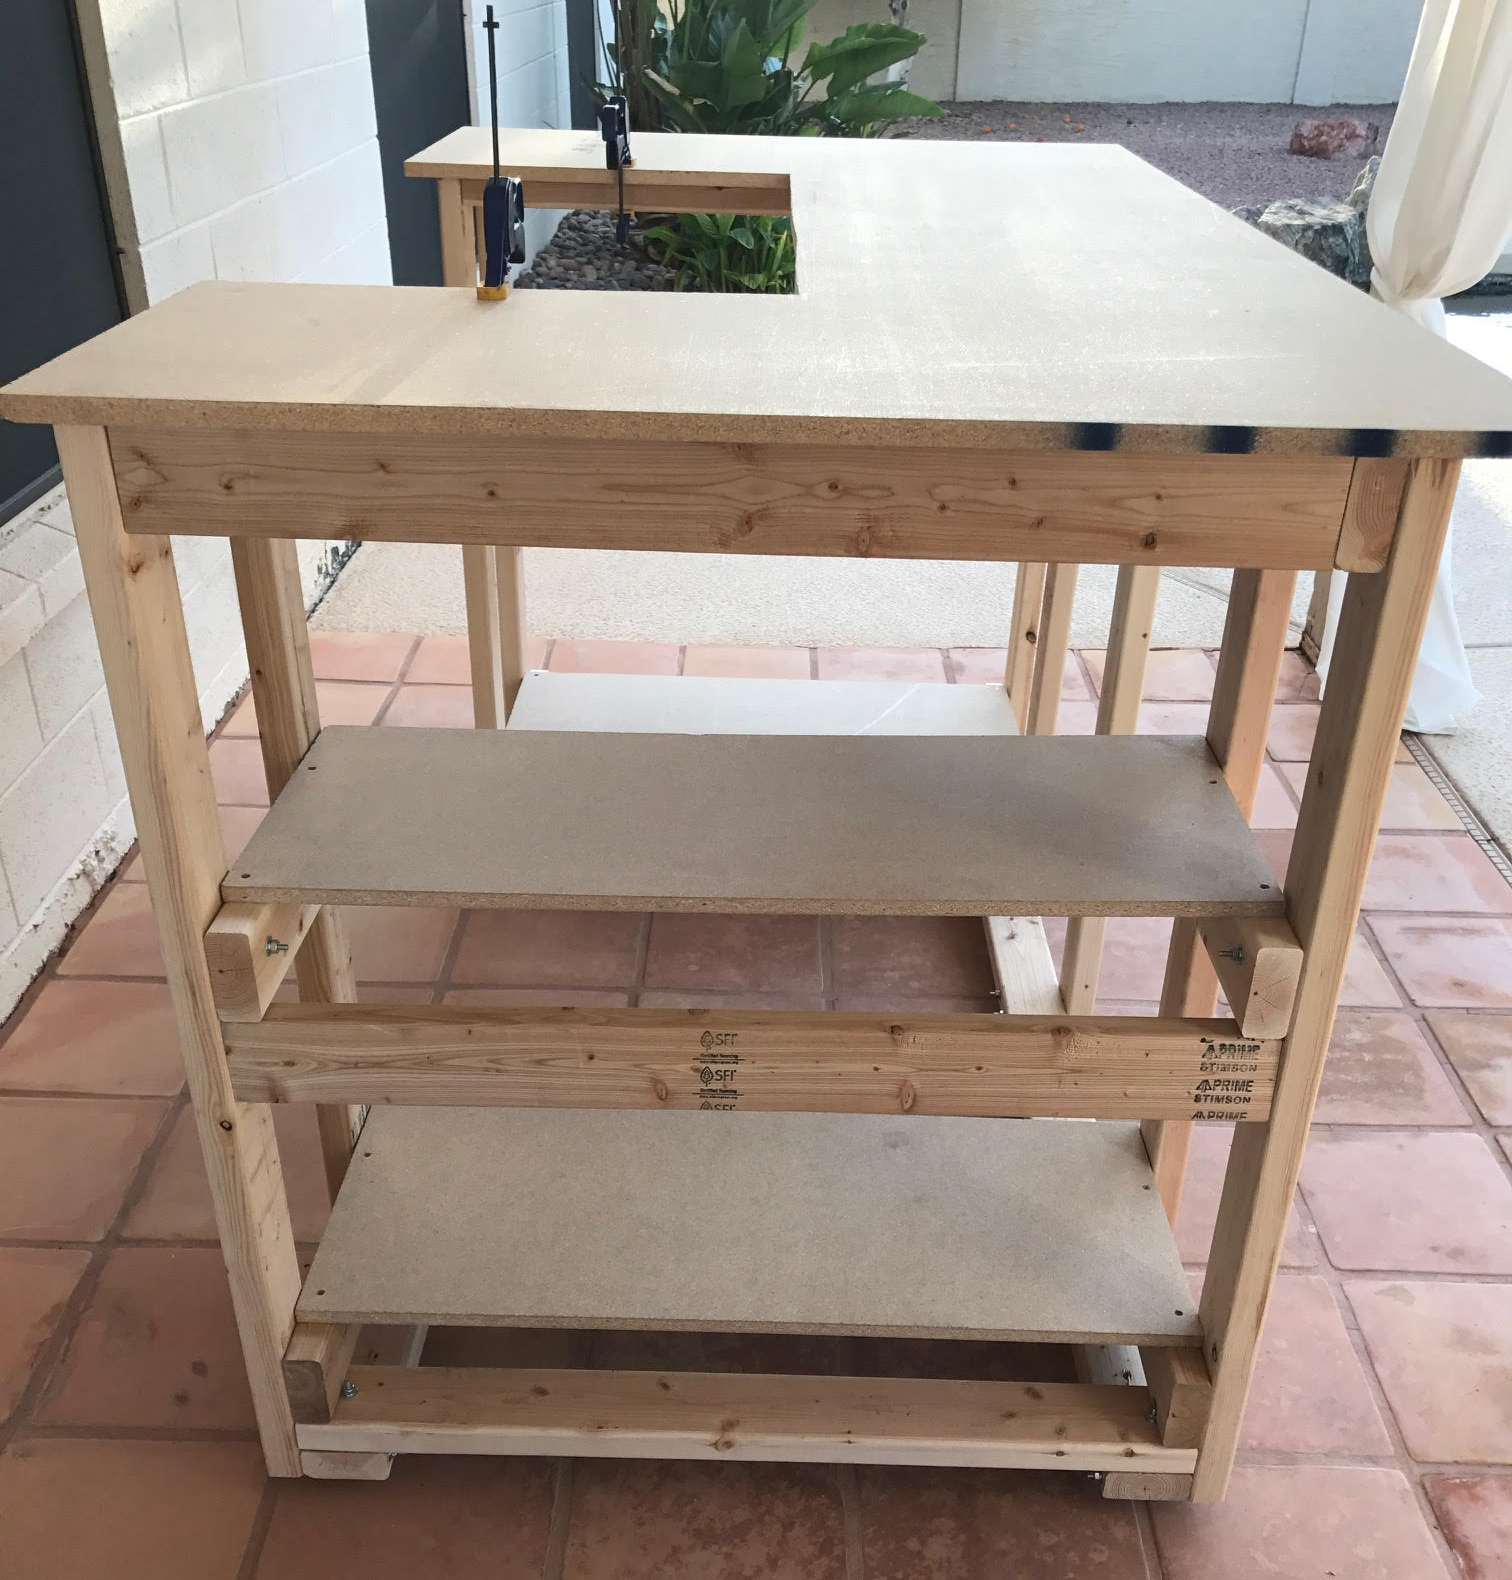
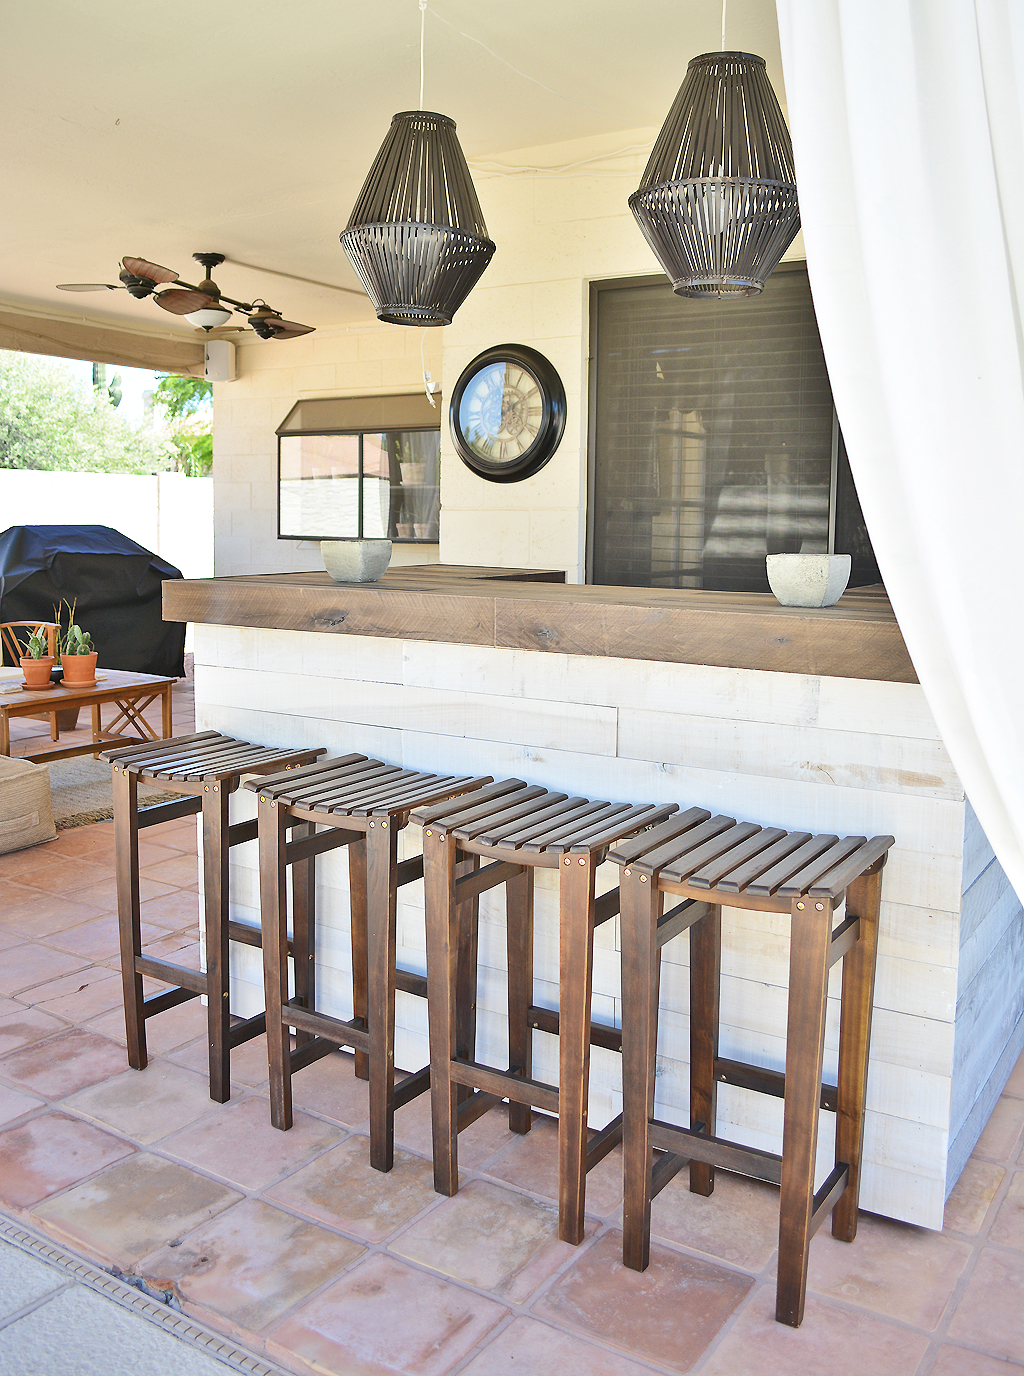
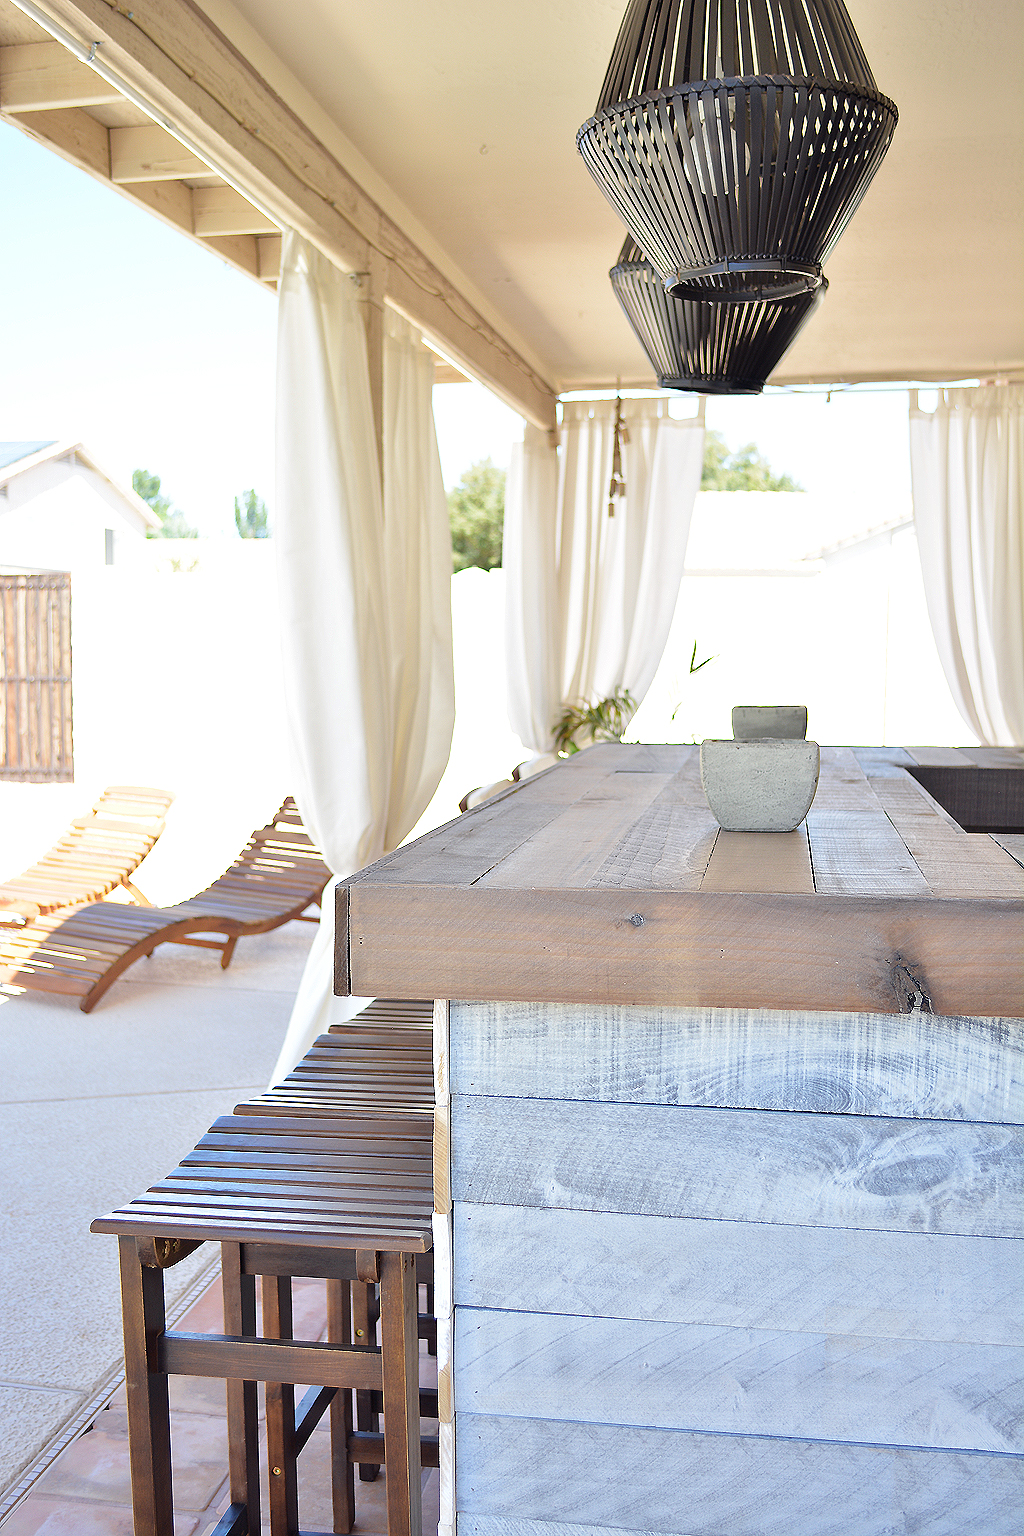
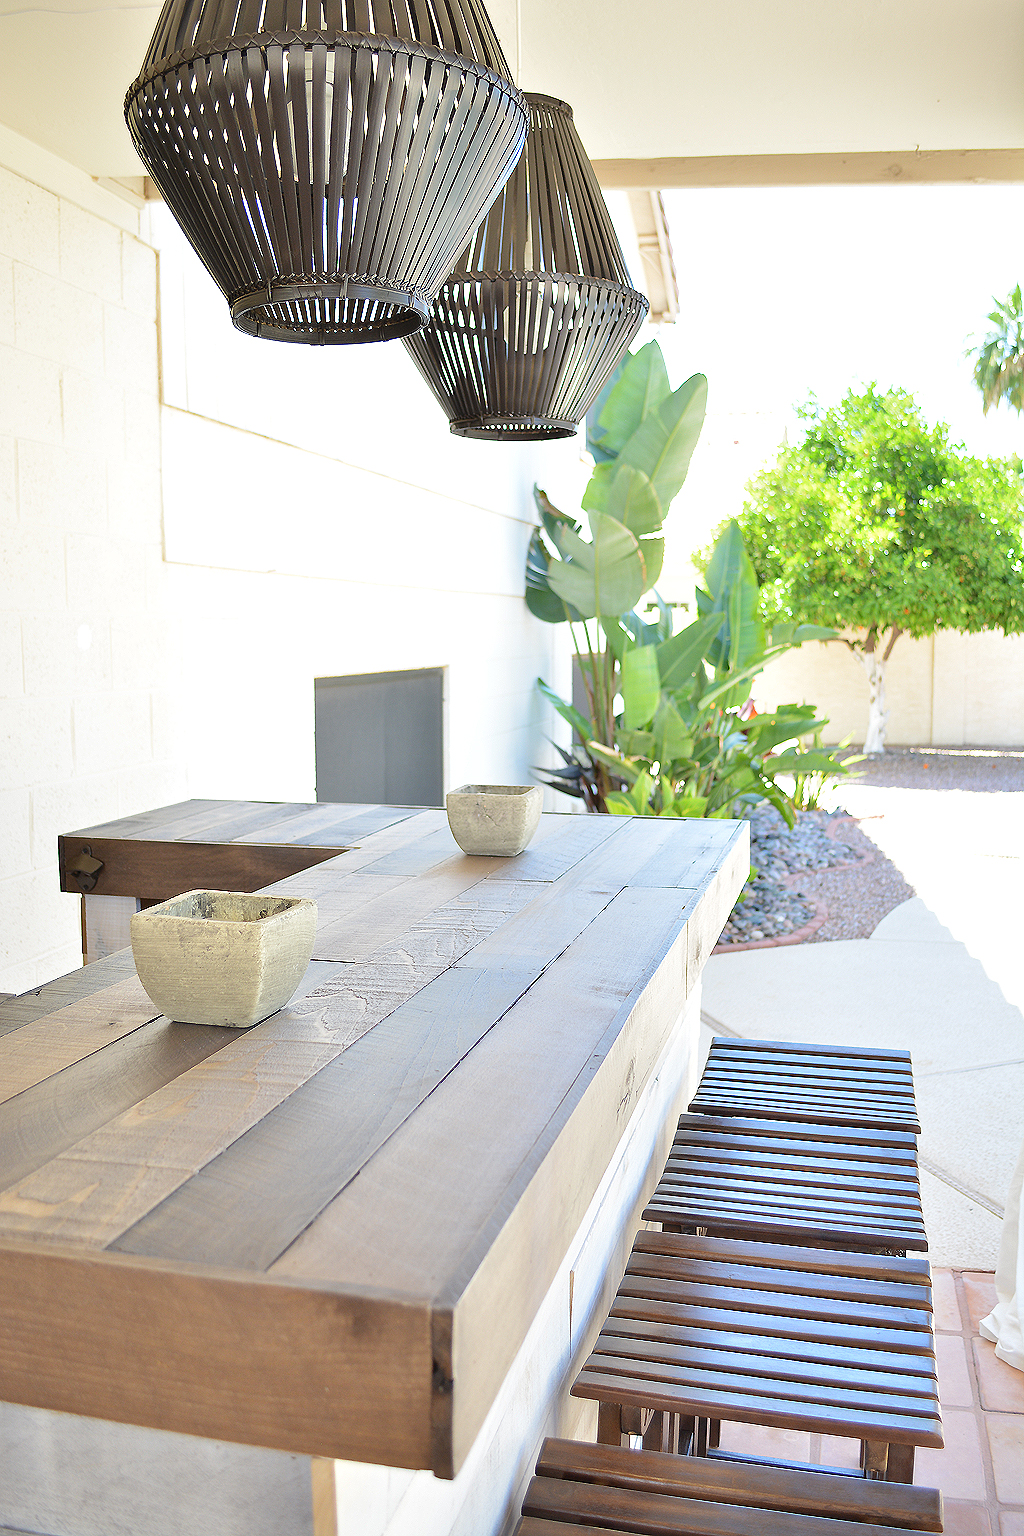
The frame was the most complicated part which Mr. CG and I did together. Installing the wallboards was a breeze. I installed using the same method as my interior walls which you can watch here. The multi-colored boards were used on the top, the white wash boards were used on the front, back and inside, and the Nantucket Gray boards were used on the outer sides.
Each one was cut to size, staggered and nailed into the stud starting from the bottom of the bar and working my way up to the top.
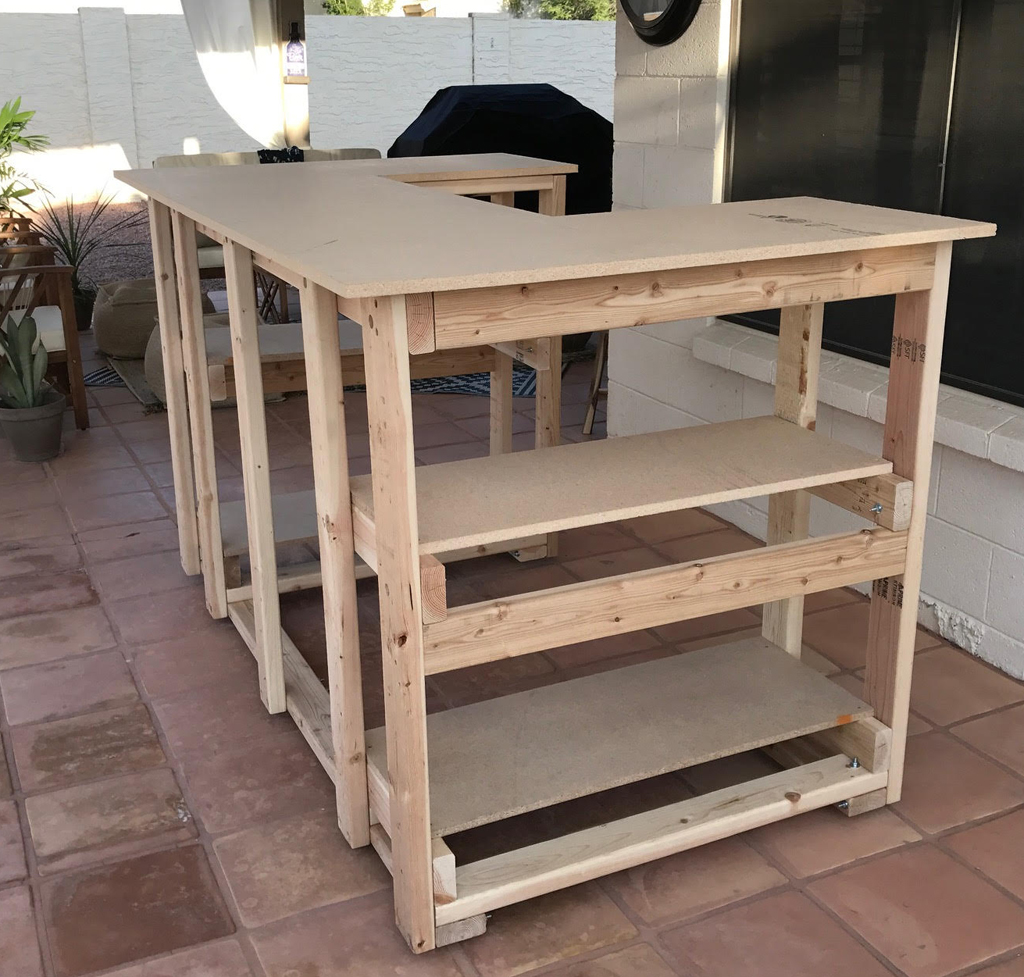
For the bar top, we had a large piece of particle board ripped to size at Home Depot and then we used our handheld circular saw to cut out the center opening. This was attached to the frame with wood screws.
I wanted to create the illusion of a thick bar top, so I started by attaching wall boards around the border of the bar to frame it out.
To ensure the top boards would be as flush as possible with the border (remember, this is wood so it won’t be perfect), I used a loose board as a guide on the top to determine placement for the border boards.
Once the border was attached, I started filling in the top with boards, staggering them as I did on the sides and attaching them with 1” brad nails.
After all of the wall boards were attached, I lightly hand sanded the sides with 80 grit sand paper to help prevent splinters when bodies are close to the bar.
I used 80 grit on the top as well, but sanded that with a heavier hand since that’s where people will lean and it needs to be as smooth as possible without taking too much character away from the boards.
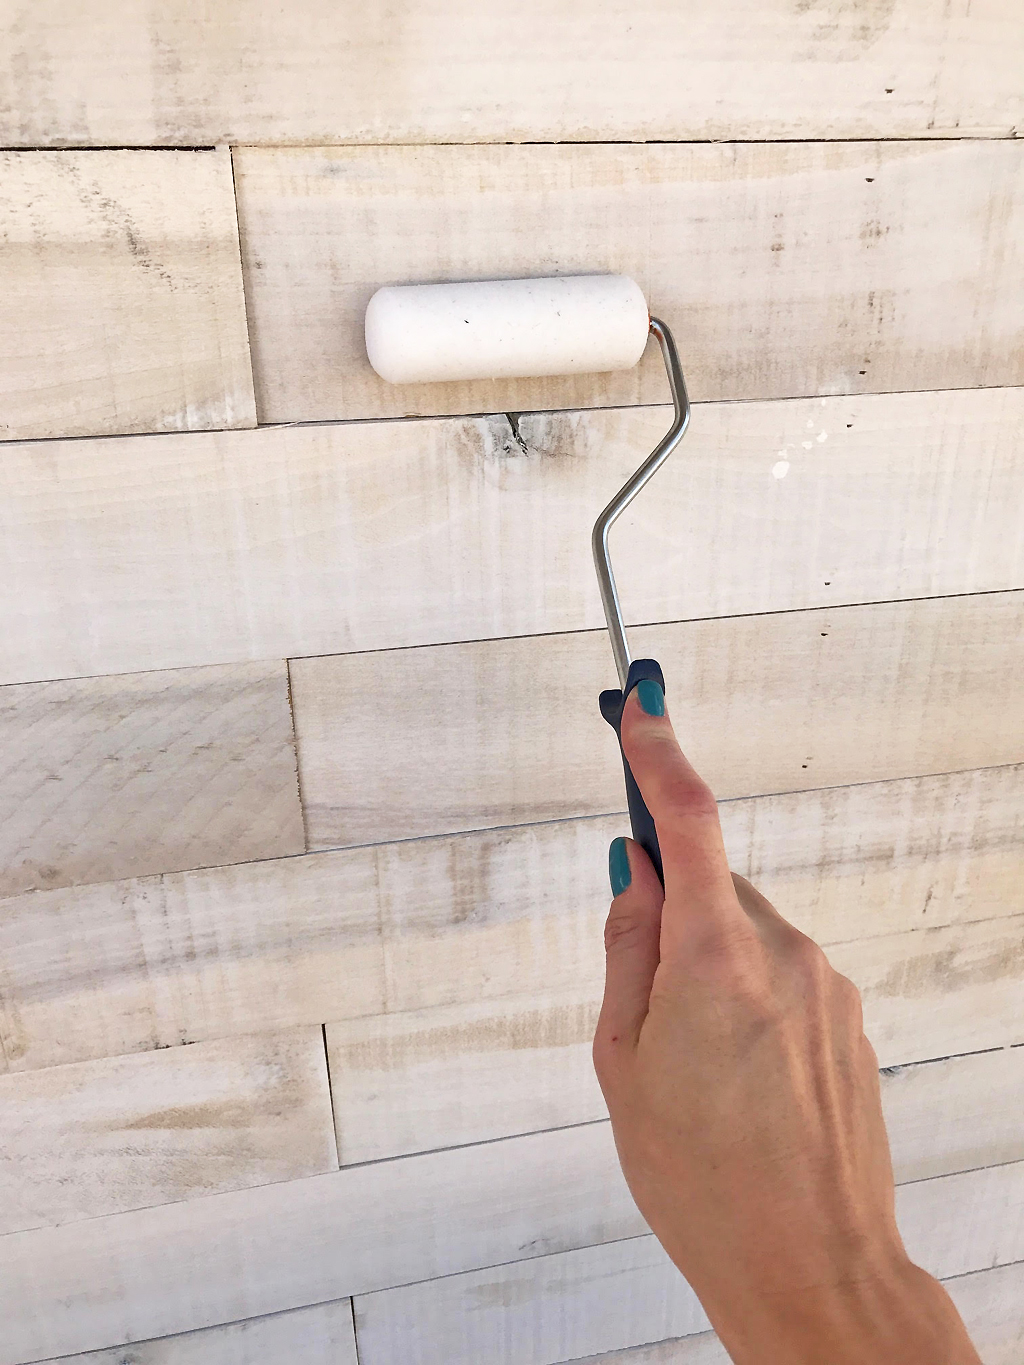
After sanding was complete, I cleaned the dust off of the bar with a leaf blower and then went over everything with a damp towel before sealing it.
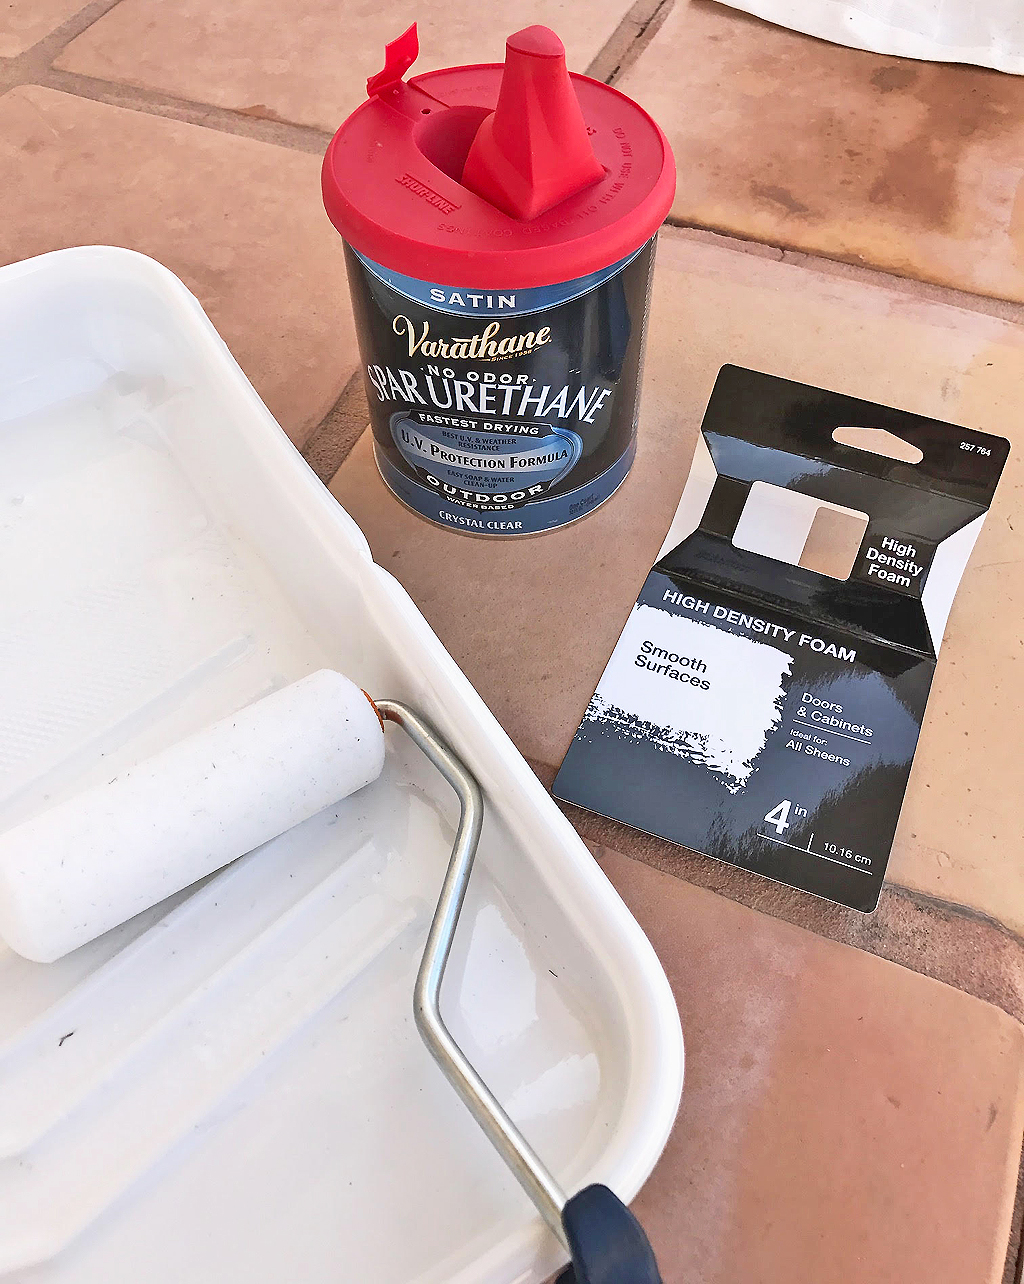
To seal the wood and help protect it from the elements I applied 4 coats of Varathane’s Water Based Outdoor Spar Urethane in a Satin finish.
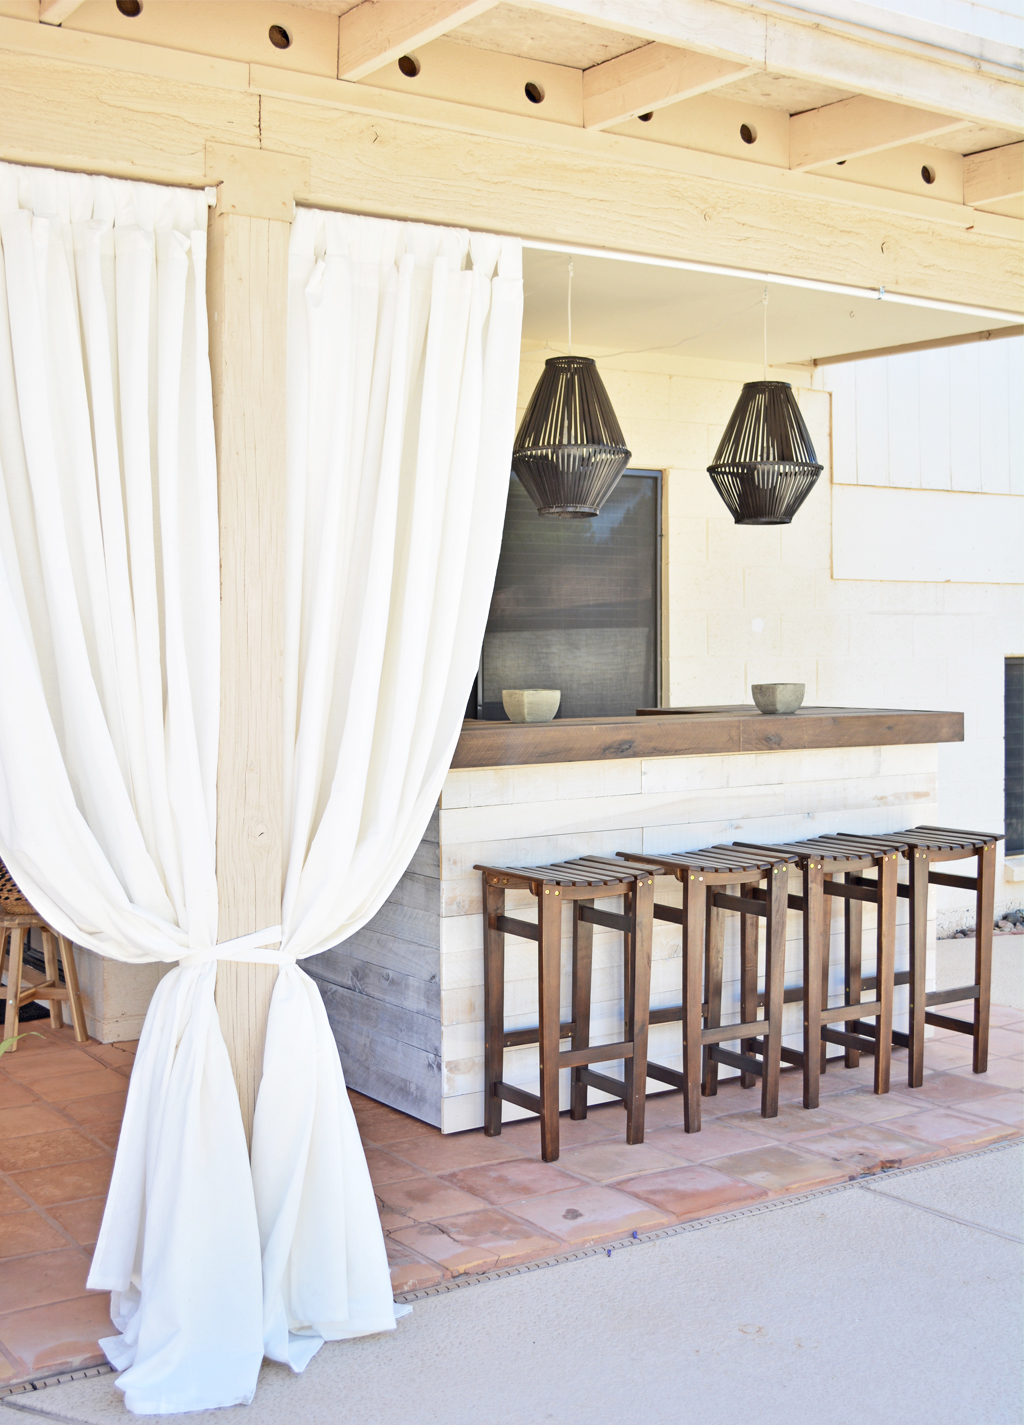
Once the bar was finished I got to add my finishing touches which included bar stools, additional drapes to create fullness, and these pendant shades from IKEA. They are bamboo which was too light for the space so I darkened them up with Rustoleum’s Dark Walnut spray paint.
I couldn’t be happier with the result, and if you decide to take on a project like this, please send me a photo or feel free to reach out with any questions. If you’re on Instagram, then tag and follow me there!
Happy DIY’ing!
XO,
Christina
Comments
This is such a dreamy oasis!!
This is such a dreamy oasis!! You are the DIY queen!
Thank you, Vanessa!!
Thank you, Vanessa!!