My love for paint runs deep. I don't always love the process, but the end result never ceases to amaze me. It's like the first time, every time!
(This post contains affiliate links at no cost to you)
If you follow me on Instagram or have read my blog for any amount of time, then you know how much I love to transform things with paint.
When I get an idea, I want it executed yesterday so I can move on to the next one. Paint allows me to do that more often than not. If we were living in our long term home or our house needed more than just updating, then I'd be more inclined to do complete renovations. Fortunately that's not the case and we can focus on that down the road when we build our long term home.
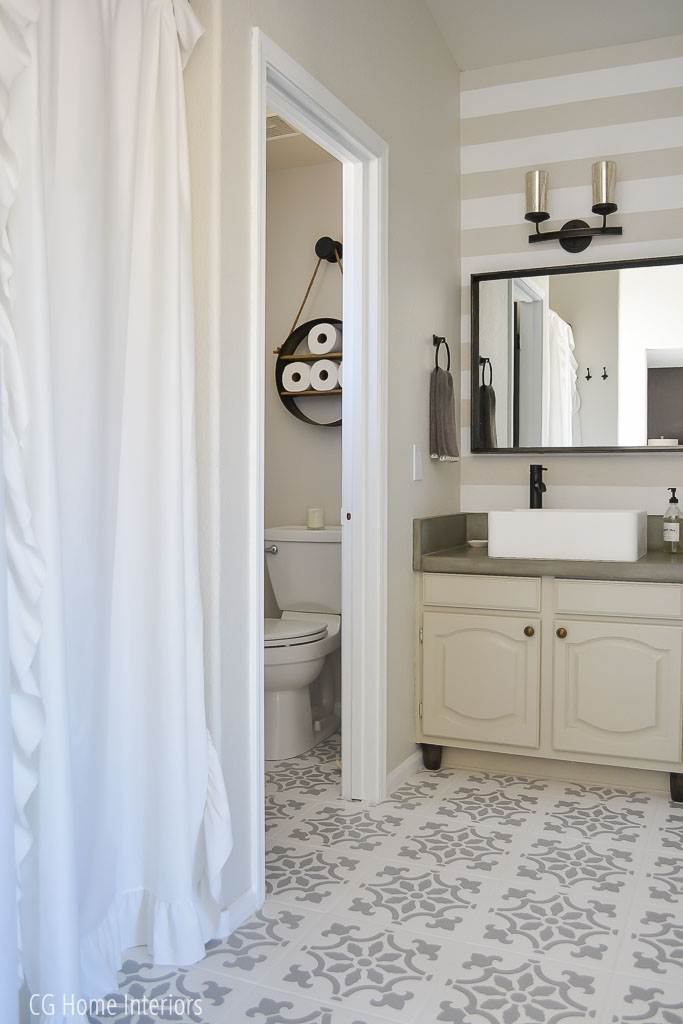
I recently shared my complete master bath remodel for under $2k, which was mostly done with paint. Since replacing the floor wasn't in the budget right now I opted to paint my tile.
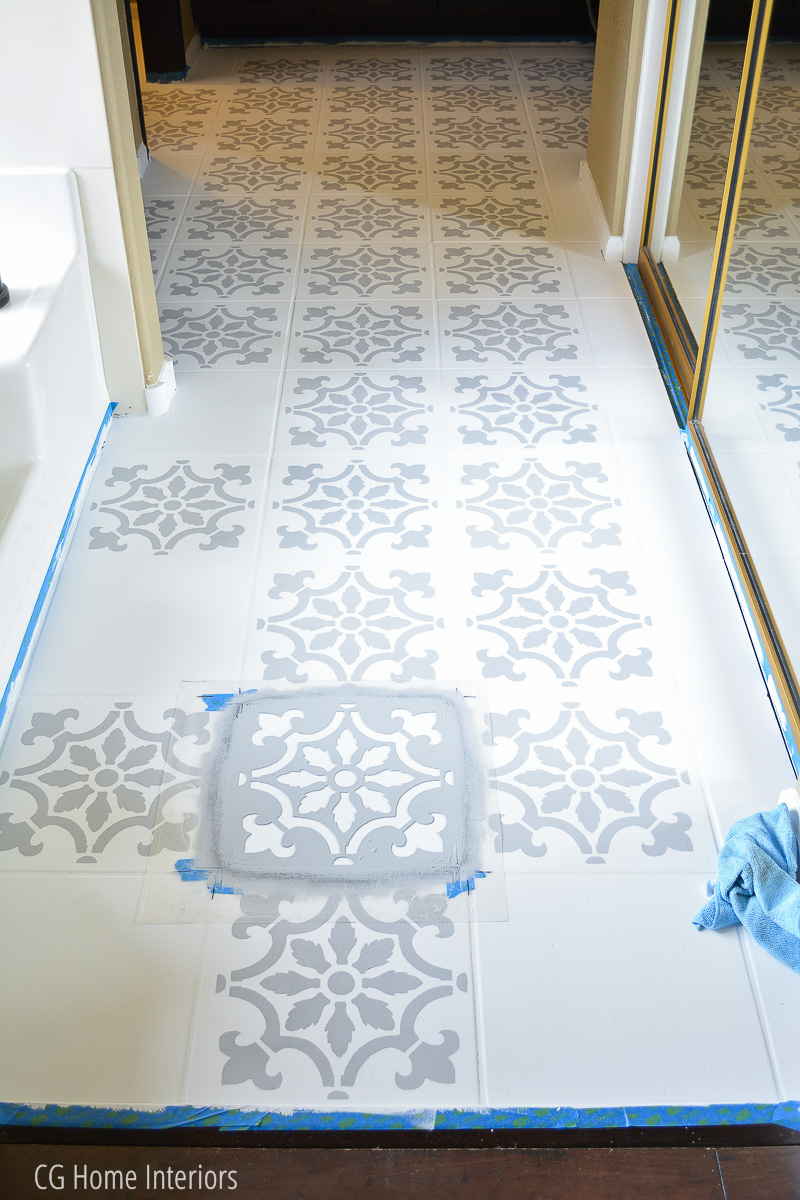
I, of course, was going for the faux cement tile look but as you can see I didn't do my research on the stencil very well. This is where patience would be a good thing to have. I realized it a little too late and was actually kind of digging the look of it not touching at the edges, so I rolled with it. What's the worst that can happen?
I repaint it.
Not fun, but not the end of the world.
I ordered my stencil from Amazon and, through my social channels, discovered Cutting Edge Stencils after the fact. That's OK because I've got another bathroom to do. :) But learn from my impatient mistake (unless you dig this look!) and do thorough research to make sure you get the right stencil for your project before getting started.
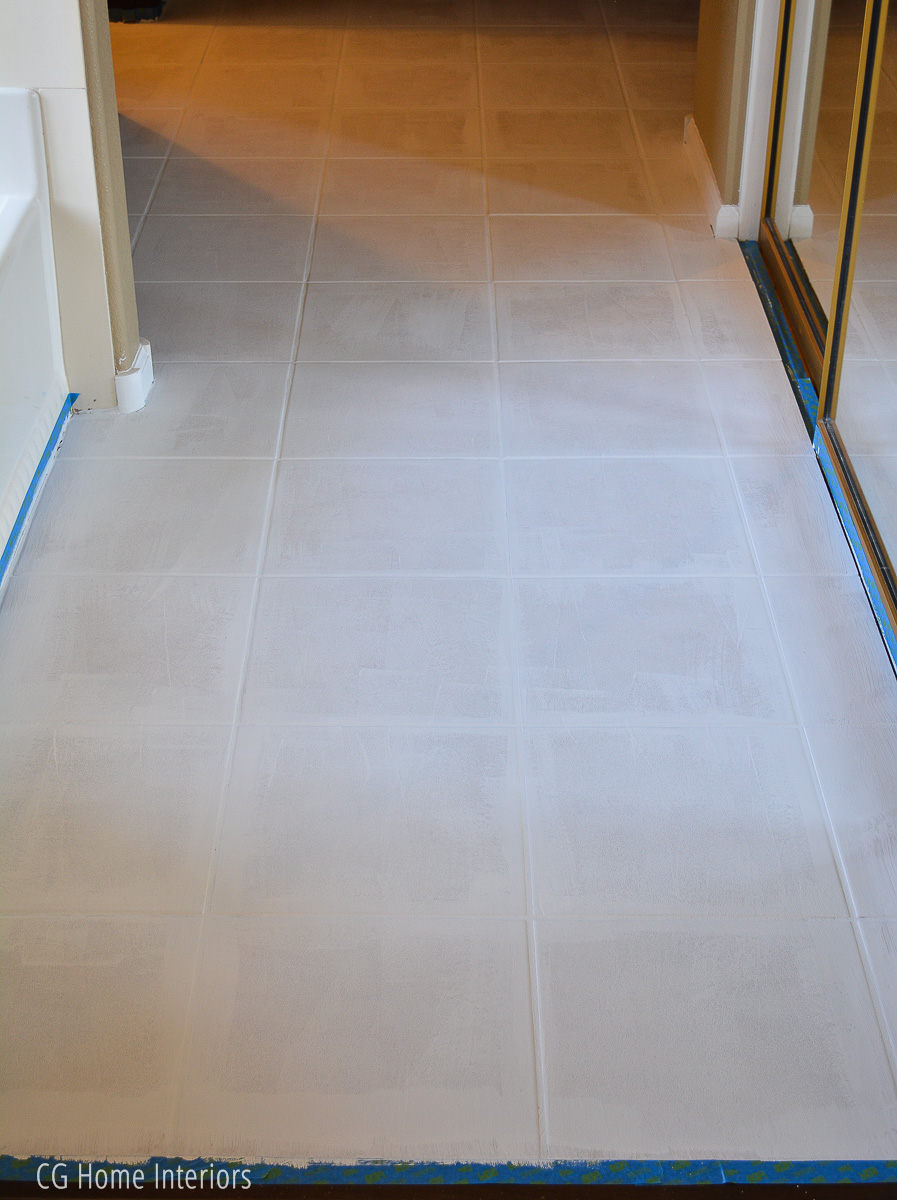
As with any paint project, the most important step is PREP! I can't stress this enough. This determines durability, how well the paint sticks to your surface and how long it lasts.
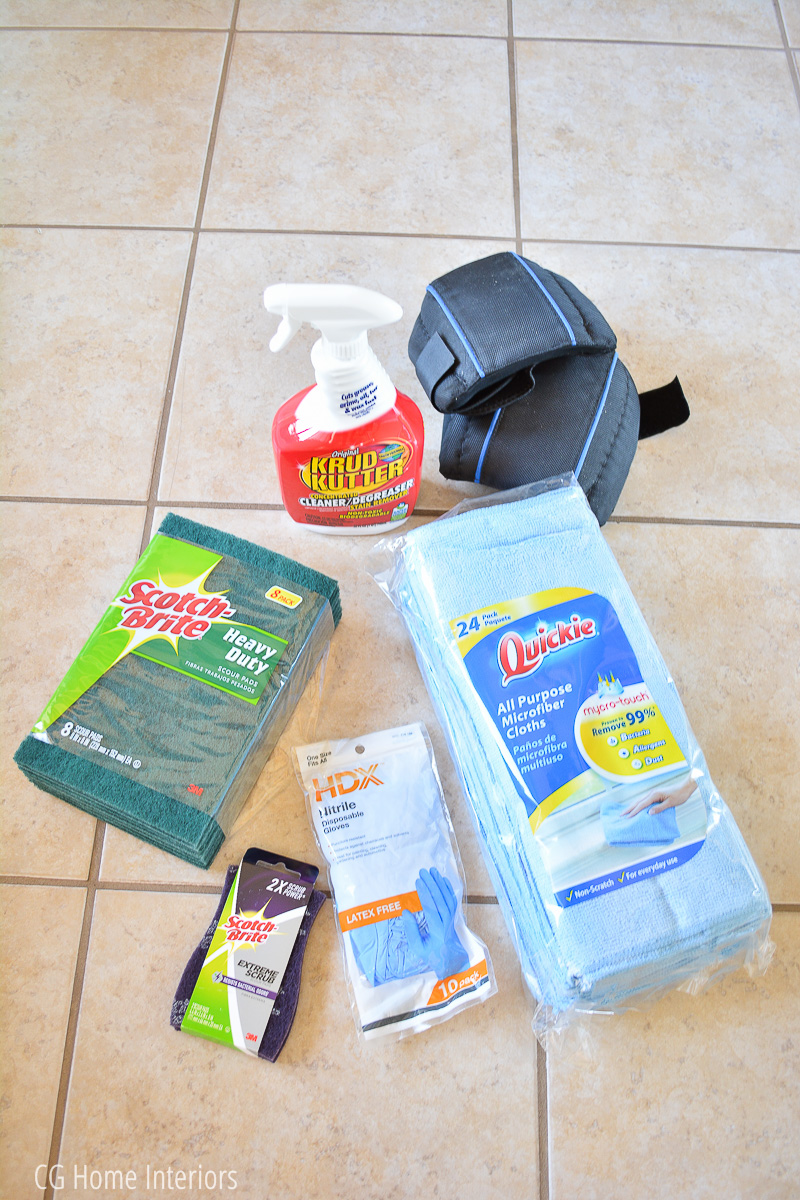
Here is a list of linked supplies I used to prep my floor:
STEP 1: SWEEP AND VACUUM
Sweep your floor and then use the handheld hose on your vacuum in the edges to get as much debris off of it as you can in preparation for scrubbing. You'll have to come back to this step again.
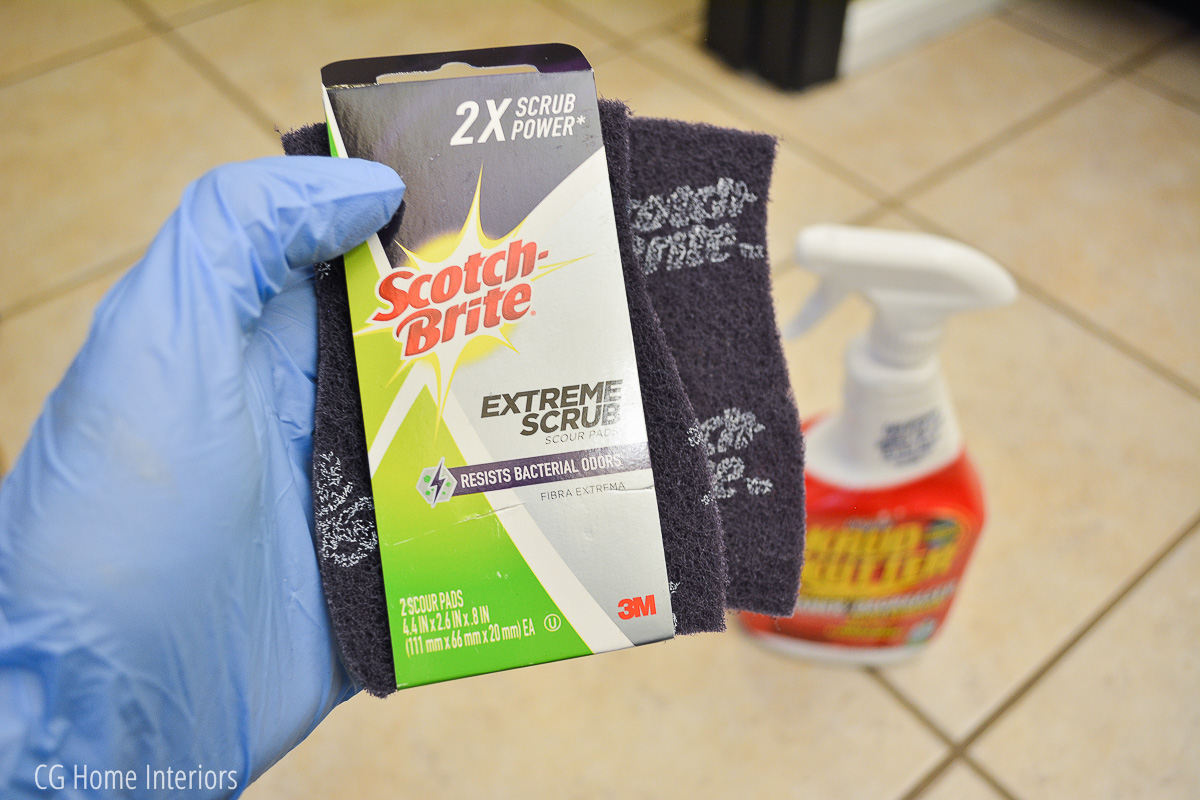
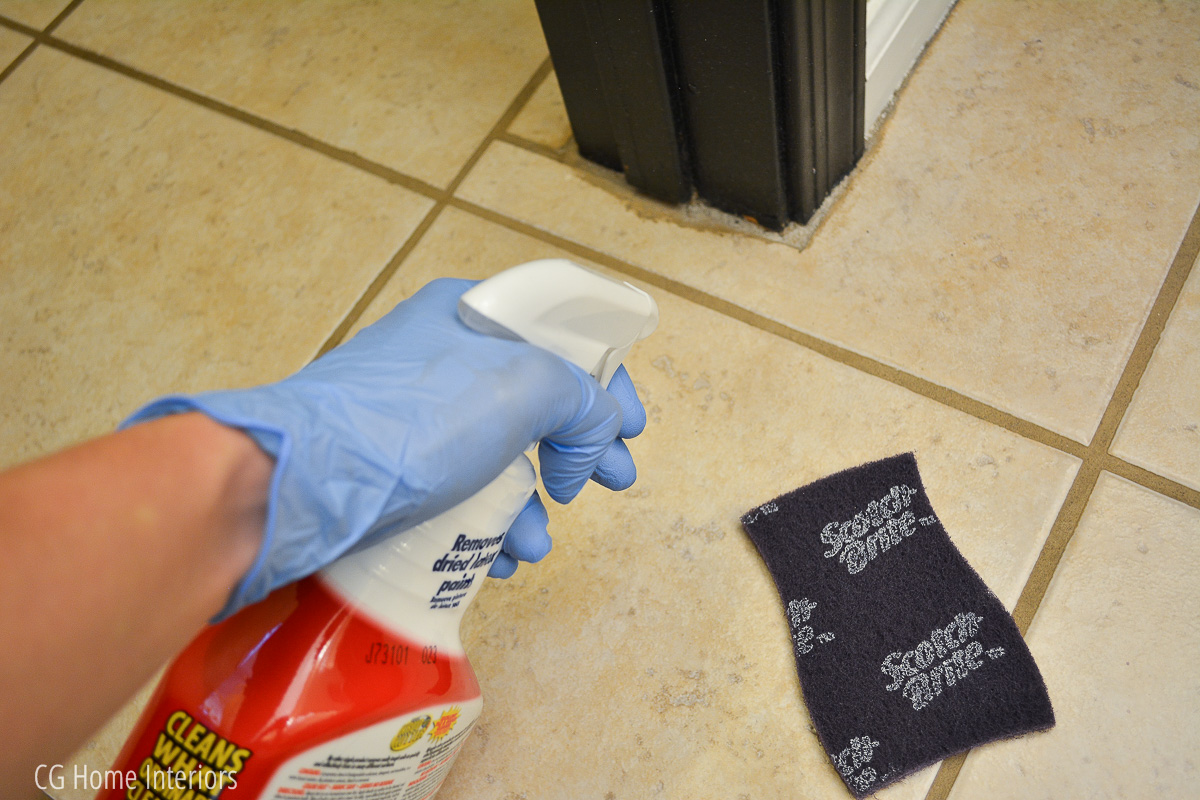
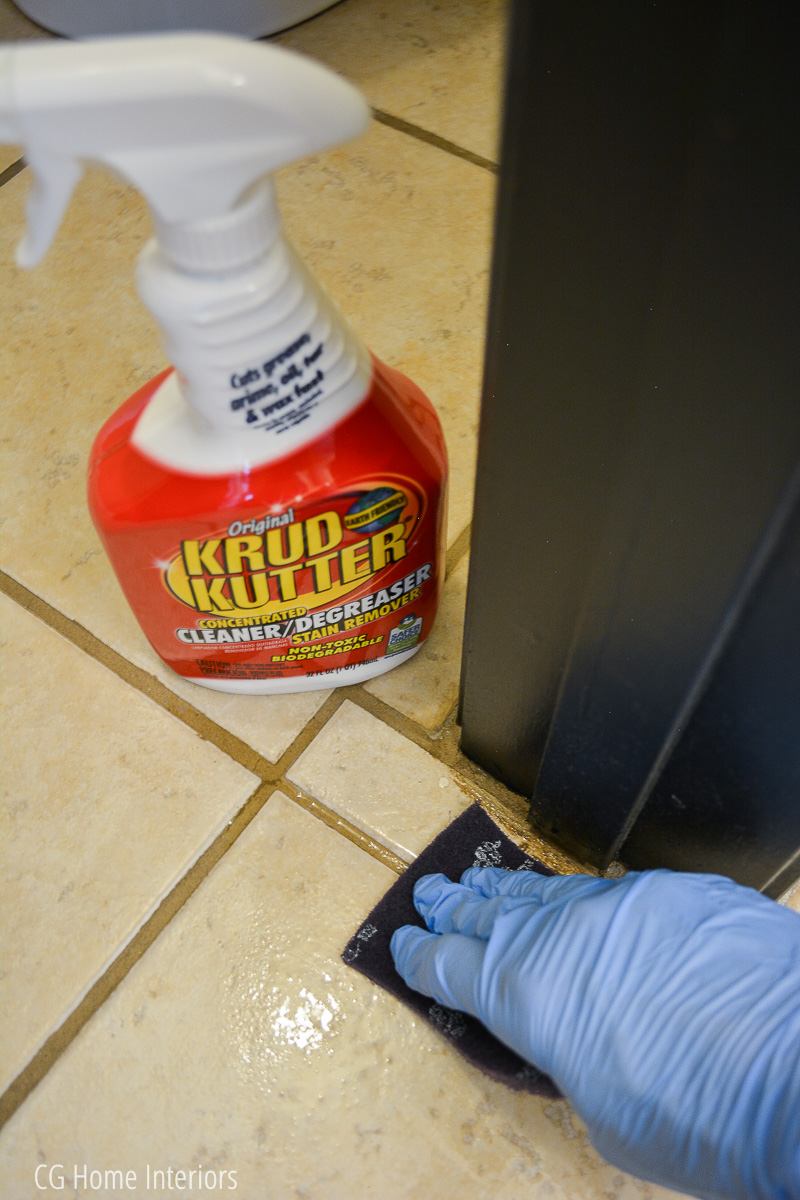
STEP 2: SCRUB
Put your gloves on, grab the Krud Cutter and an Extreme Scrub Scotch Brite pad and scrub your little heart out! Pay extra attention to the grout and the edges where the tile meets the baseboards. This step is very important as the Scotch Brite pad will help scuff the floor up a little to help with paint adhesion. You may also opt to use a deglosser in this stage.
STEP 3: WIPE THE FLOOR WITH A DAMP MICROFIBER CLOTH
STEP 4: DRY THE FLOOR WITH A DRY MICROFIBER CLOTH
STEP 5: VACUUM AGAIN
Don't sweep (just vacuum) as any fibers or debris on the bristles of the broom may get loose on the floor and you don't want that!
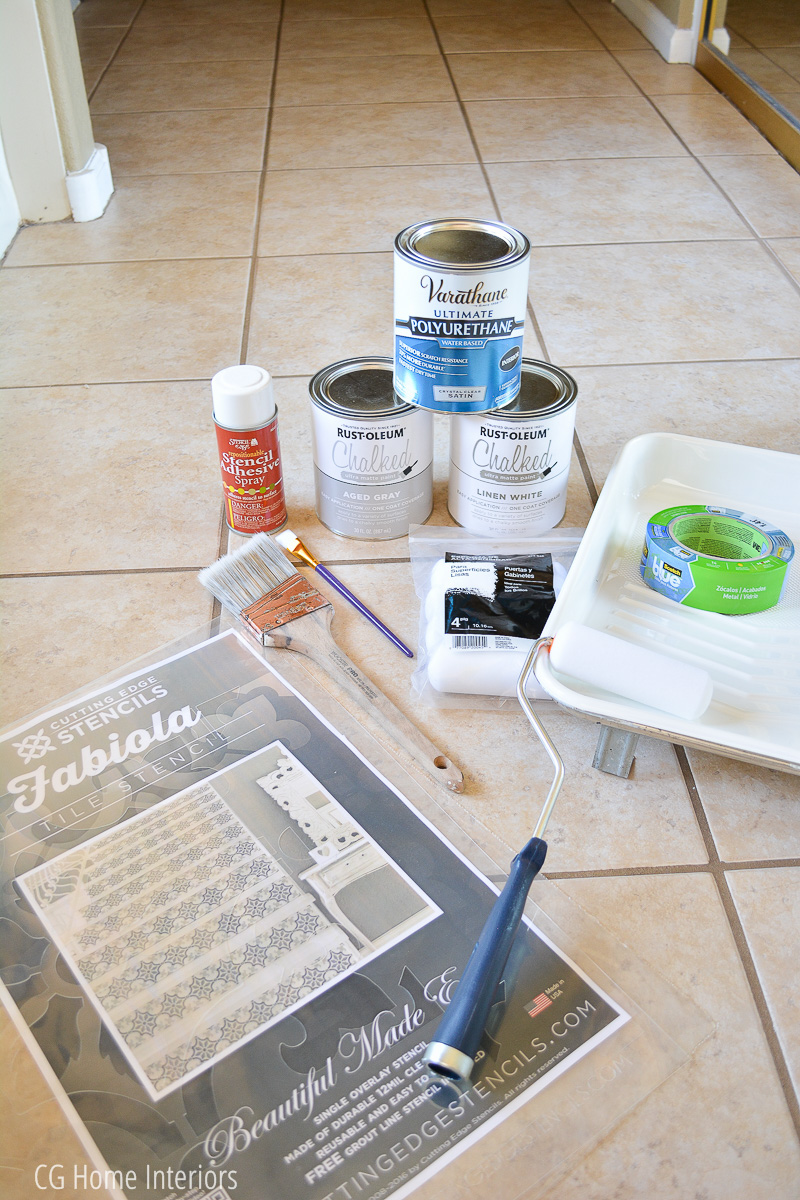
Now that your floor is prepped and ready, you can gather your paint supplies:
- Rustoleum Chalked Paint (Linen White)
- Rustoleum Chalked Paint (Aged Gray)
- Varathane Polyurethane for Indoor Use (Satin)
- 2-inch Angled Paint Brush
- Paint tray
- 6-inch Foam Roller
- Extra foam rollers
- Craft brush for mistakes and tight spaces
- Painter's Tape
- Stencil
- Stencil Adhesive
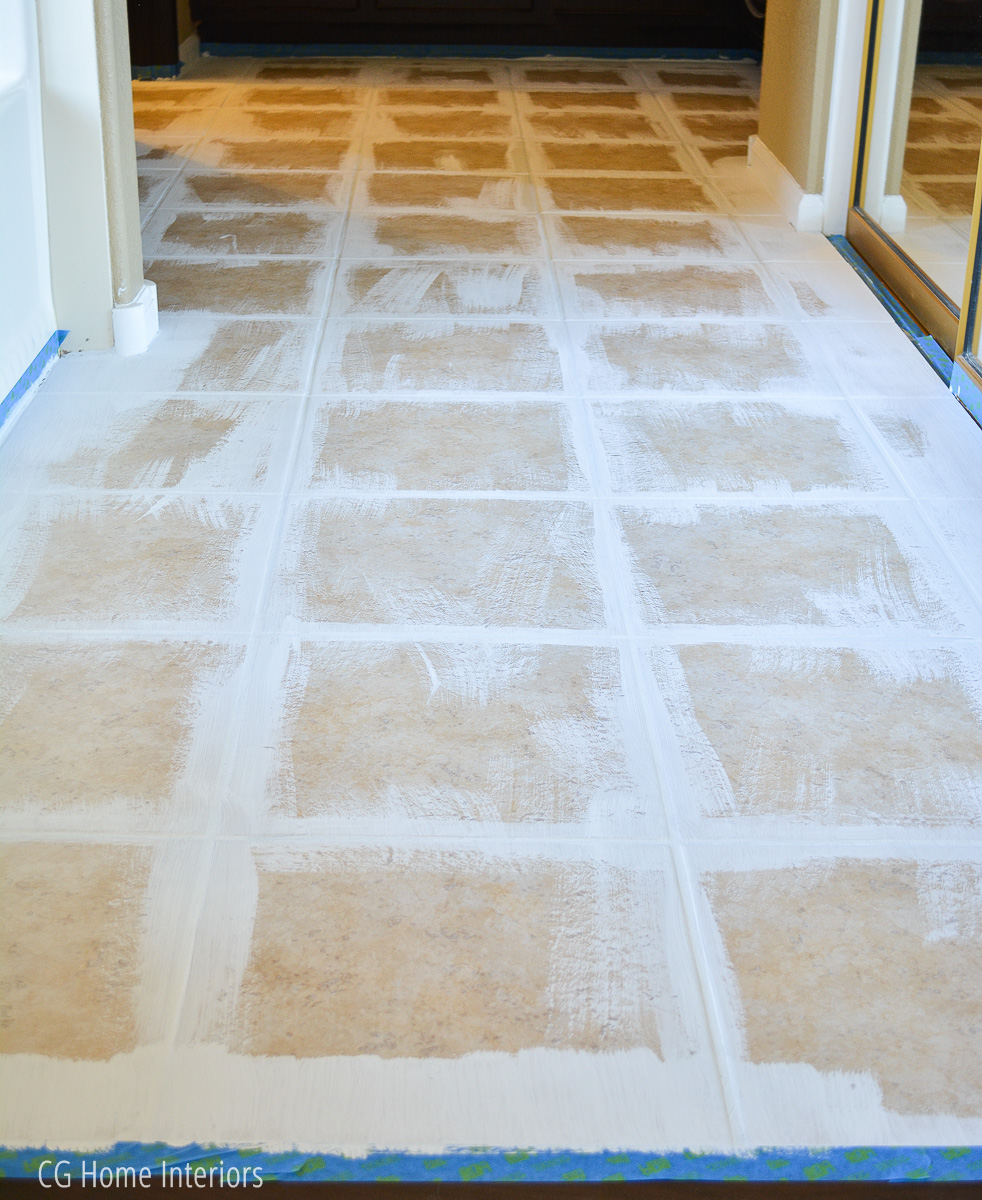
STEP 6: TAPE OFF ANY EDGES/TRIM YOU DON'T WANT PAINTED
STEP 7: APPLY 2 COATS OF PAINT TO THE EDGES AND THE GROUT LINES WITH THE ANGLED PAINT BRUSH
STEP 8: APPLY 2-3 COATS OF PAINT TO ENTIRE FLOOR WITH THE FOAM ROLLER (refer to the paint can for recommended dry time in between coats)
TIP: You will need to walk on the floor once the paint is dry in between coatds to apply additional coats, so it is best to wear socks to avoid footprints or your feet sticking to the paint at all.
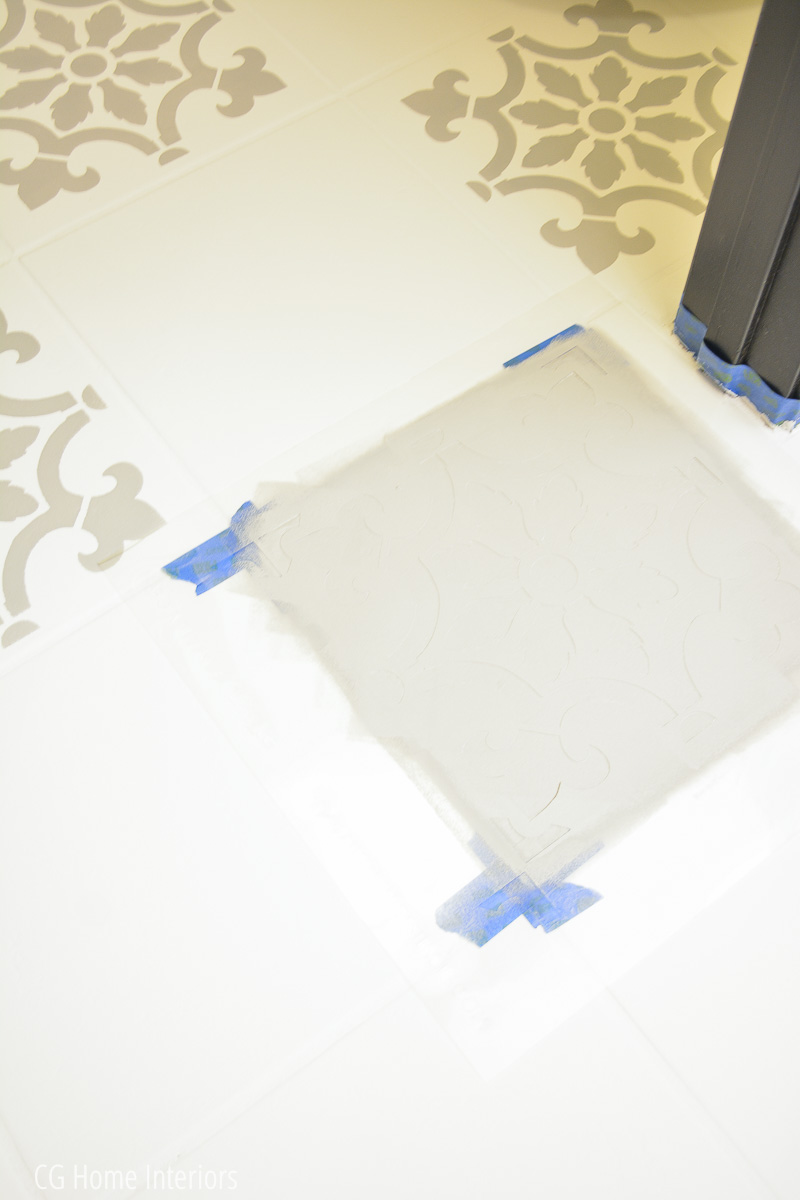
STEP 9: STENCIL
Apply the stencil adhesive to the back of the stencil per the manufacturer's instructions and press it down firmly to the first tile, also securing the edges with painters tape. Use a new foam roller to paint the stencil pattern onto the tile. I used Aged Gray and only needed one coat.
You'll need to stagger the stencil as you go so you don't overlap the stencil on wet paint (see example below). After you've completed all the staggered tiles, you can go back and fill in the rest.
You will run into corners and small tiles that are more difficult to stencil and I saved those for last. Some of the small tiles on the edge I had to stencil as much as I could and freehand the rest.
Once everything is dry, you can correct any areas that need it with the craft brush.
STEP 10: APPLY 4 COATS OF POLYURETHANE
Start with the grout lines and apply one coat to those with the angled paint brush. Then apply 4 additional coats to the entire floor with a new foam roller (refer to the can for recommendation on application and dry times).
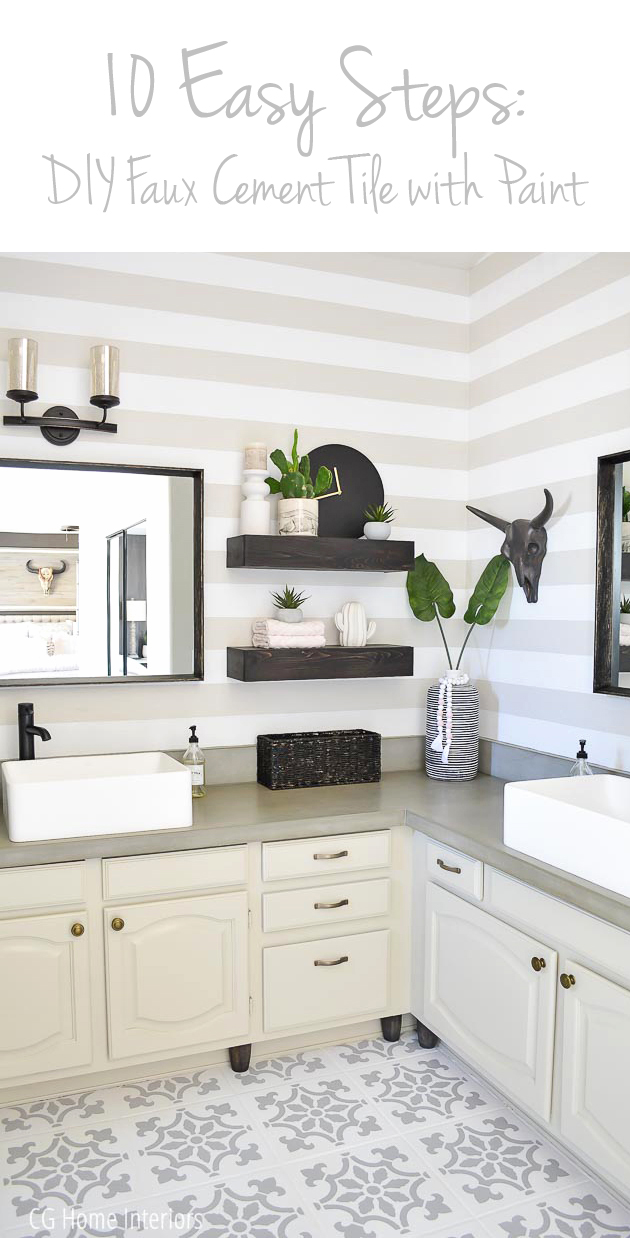
Now you get to step back, admire your hard work and enjoy your BEAUTIFUL new floor!
What do you think? Is this something you will try??
Don't forget to join me on Pinterest and pin your favorite images from this tutorial. You also have the option to subscribe to my blog if you don't want to miss any projects or tutorials that are going on over here!
Christina
Here is a PINNABLE IMAGE for your convenience . . .
Comments
Looks amazing! I commend your
Looks amazing! I commend your commitment!----
Thank you, Jennifer!!
Thank you, Jennifer!!
What a great floor option!
What a great floor option! Thanks for sharing the details!
My pleasure, Suzy! Thank you
My pleasure, Suzy! Thank you for reading!!
Hello love, just catching up
Hello love, just catching up on your blog and remembering how much I loved this flooring. How is it holding up? Any issue with scuffs or paint chipping?
It has been holding up great!
It has been holding up great! But you have to keep in mind we don’t wear shoes in that part of the house so I’m not sure how it would hold up in a high traffic area, personally. But I know other bloggers who have done it in their entryway with no issues!